Get Rid of Blurry LinkedIn Profile Photo in Simple Steps


A blurry LinkedIn profile photo can undermine your professional presence, making it difficult for potential connections or employers to view your image clearly. Common causes of this issue include uploading images with inadequate resolution or improper dimensions. LinkedIn recommends using a photo with dimensions of 1584 x 396 pixels for optimal clarity. Smaller or incorrectly sized images often appear pixelated or blurry when displayed on different devices or screen resolutions.
Another factor contributing to a blurry profile picture can be image compression. LinkedIn compresses uploaded images to reduce file size, which can affect quality. To mitigate this, ensure your image is of high quality before uploading and avoid using images with excessive logos or text that may distort during compression.
In this blog, we are going to see practical steps to address and prevent a blurry LinkedIn profile photo, including tips for selecting and preparing your image to ensure it appears sharp and professional across all platforms.
What Makes the Shift in Your Headshot Image Quality?
The shift in headshot image quality often stems from variations in resolution and file size. Images with low resolution may appear blurry or pixelated when enlarged on different devices or screens. High-resolution photos maintain their clarity and sharpness, ensuring a professional appearance. Additionally, the file size and format play crucial roles; larger files generally retain more detail, while compression algorithms used by platforms like LinkedIn can degrade image quality.
Another critical factor is the aspect ratio and dimensions of the headshot. If the uploaded photo does not meet the platform’s recommended dimensions, it may be stretched or cropped, leading to a loss in quality. Properly sizing the image according to platform specifications and using high-quality formats like PNG or JPEG can significantly enhance clarity. Ensuring these elements are addressed can improve the overall appearance of your headshot and maintain its professional impact.
Reasons for Blurry LinkedIn Profile Image
Low-resolution profile images often result from using a low-quality original photo, improper file formats, or incorrect dimensions. Additionally, image compression by social media platforms and the use of lower-quality cameras can further degrade the clarity of your profile picture.
- Original Image Quality: Using a low-resolution image from the start can result in a blurry profile picture. Ensure the original photo has a high resolution to avoid quality loss during upload.
- Improper File Format: Some file formats compress images more than others, which can reduce quality. JPG files, for example, may lose detail due to compression, whereas PNG files generally preserve quality better.
- Incorrect Dimensions: Uploading an image with dimensions smaller than the recommended size (e.g., 400 x 400 pixels for LinkedIn) can cause it to appear pixelated. Always use images that meet or exceed the platform’s size requirements.
- Image Compression: Social media platforms often compress images to save bandwidth, which can lower the resolution. Starting with a high-quality image and minimizing compression artifacts can help maintain clarity.
- Camera Quality: Photos taken with lower-quality cameras or smartphone front-facing cameras can be inherently less sharp. Using a high-resolution camera improves the initial image quality before uploading.
Tips to Fix Blurry LinkedIn Profile Photo
Ensure your LinkedIn profile photo is high-resolution, ideally 400 x 400 pixels, and avoid compression. Edit for clarity, use proper lighting, and maintain a simple background. Regularly update the image and confirm it's in JPG or PNG format for best results.
1. High-Resolution Image
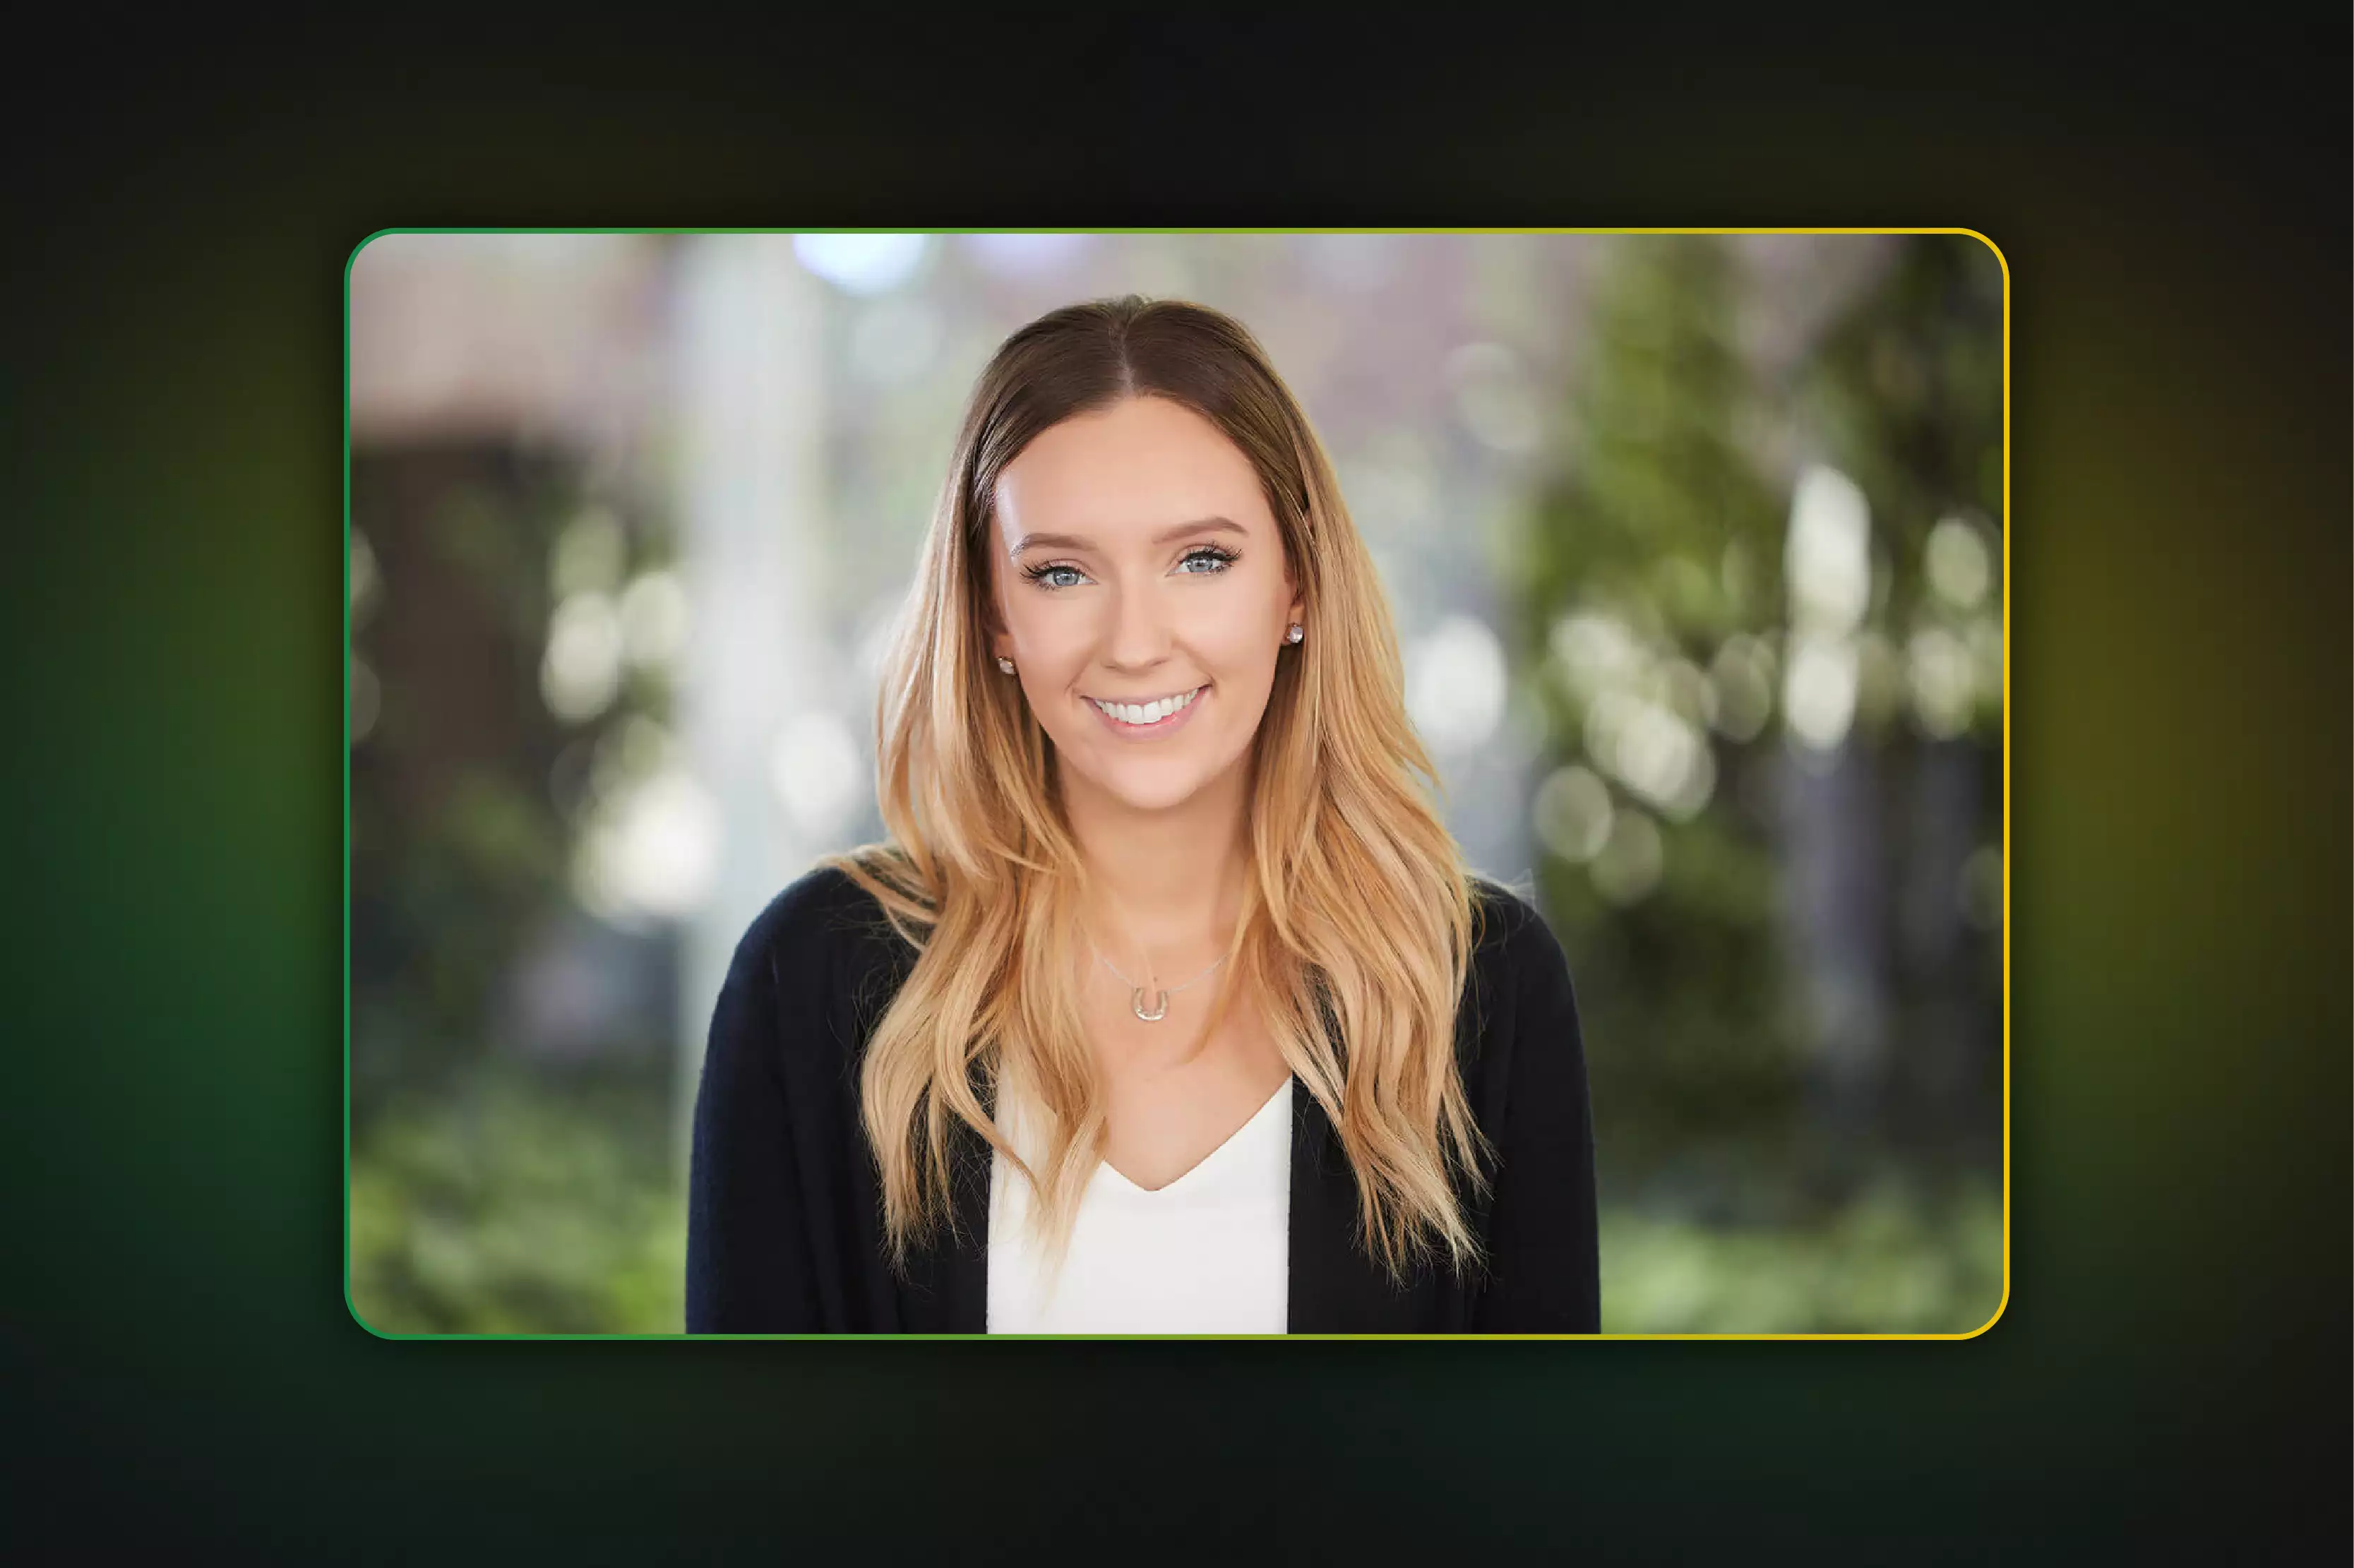
A high-resolution image is essential for a clear and professional LinkedIn profile photo. Aim for a resolution of at least 400 x 400 pixels, which ensures your photo appears sharp and detailed on various devices. Using a high-resolution image helps avoid pixelation and blurriness, making your profile look polished and credible.
To achieve this, upload a file with a higher quality, ideally in JPG or PNG format. Avoid compressing the image too much, as excessive compression can degrade the photo’s quality. Additionally, ensure the image is well-lit and features a simple background to keep the focus on your face, enhancing the overall impression of your profile.
2. Correct Dimensions
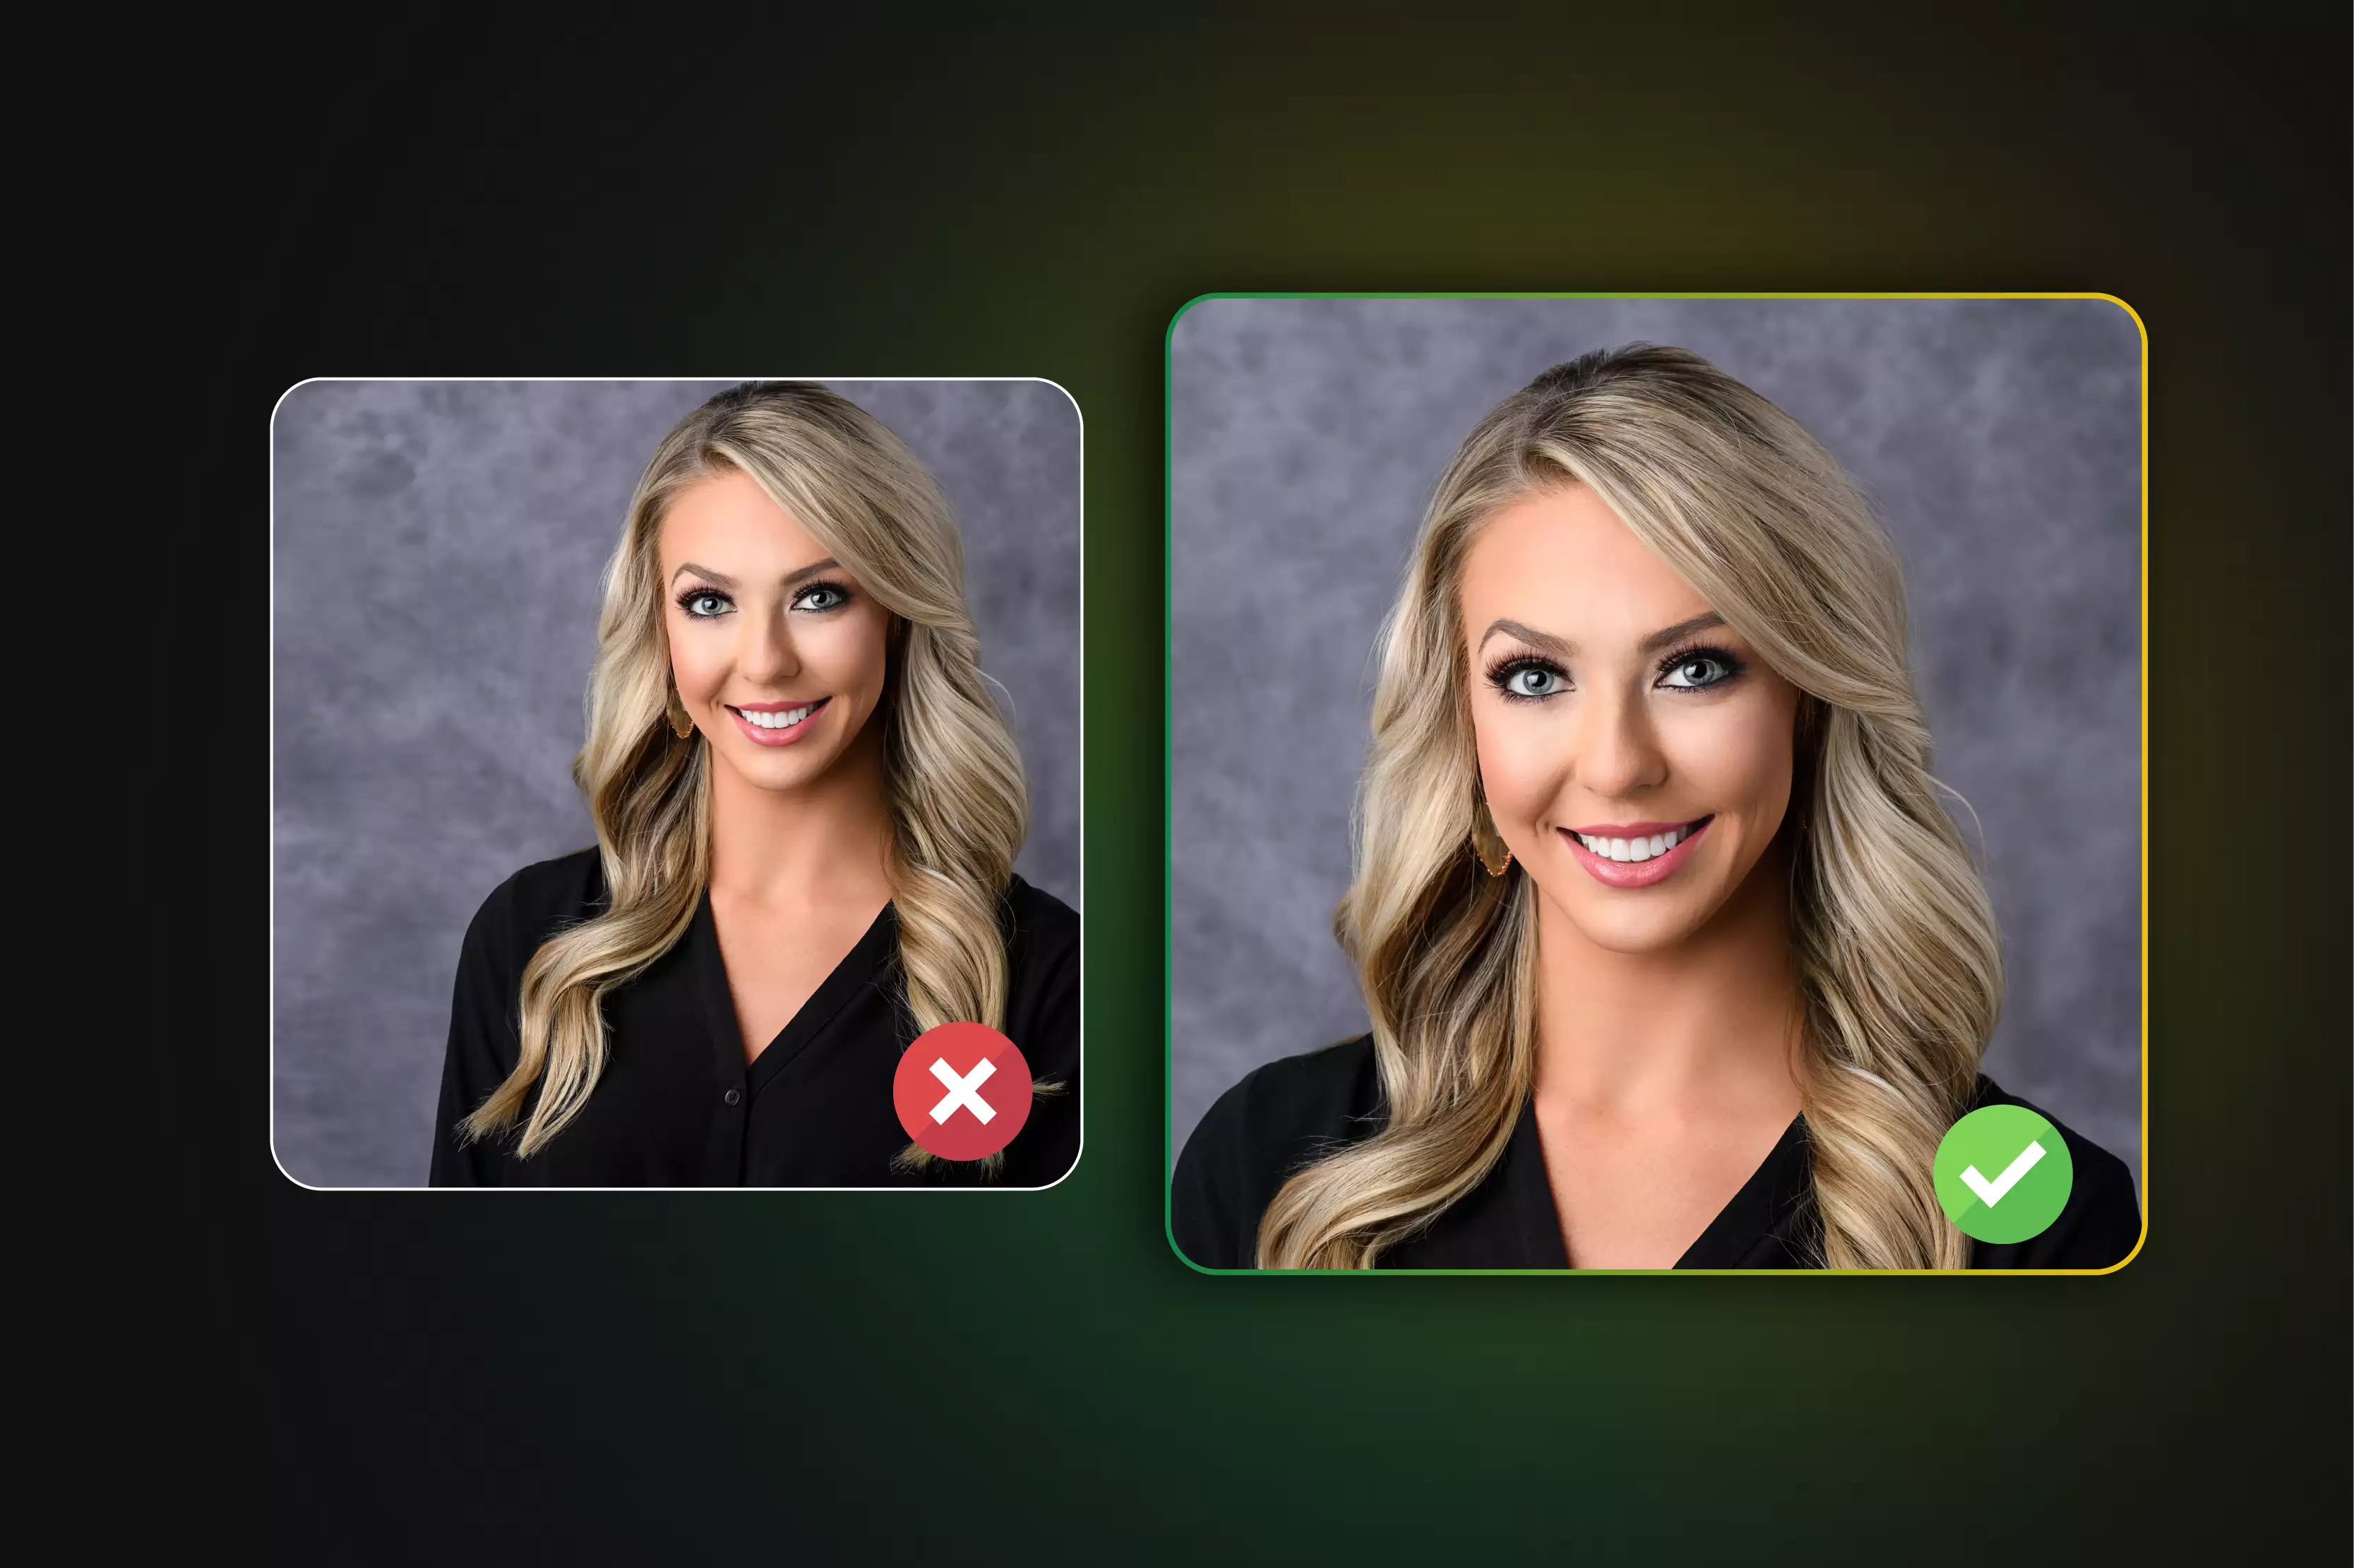
Correct dimensions for your LinkedIn profile photo are crucial for a professional appearance. The recommended size is 400 x 400 pixels, ensuring the image is clear and well-fitted. Maintaining these dimensions helps prevent distortion and ensures the photo looks sharp across various devices. For the background photo, the optimal dimensions are 1584 x 396 pixels.
Adhering to these dimensions avoids pixelation and ensures your photo displays correctly without unnecessary cropping or stretching. Ensure that your image fits well within the frame by uploading a high-quality file and previewing it on LinkedIn before finalizing. This attention to detail enhances your profile’s visual appeal and creates a positive first impression.
3. Avoid Compression
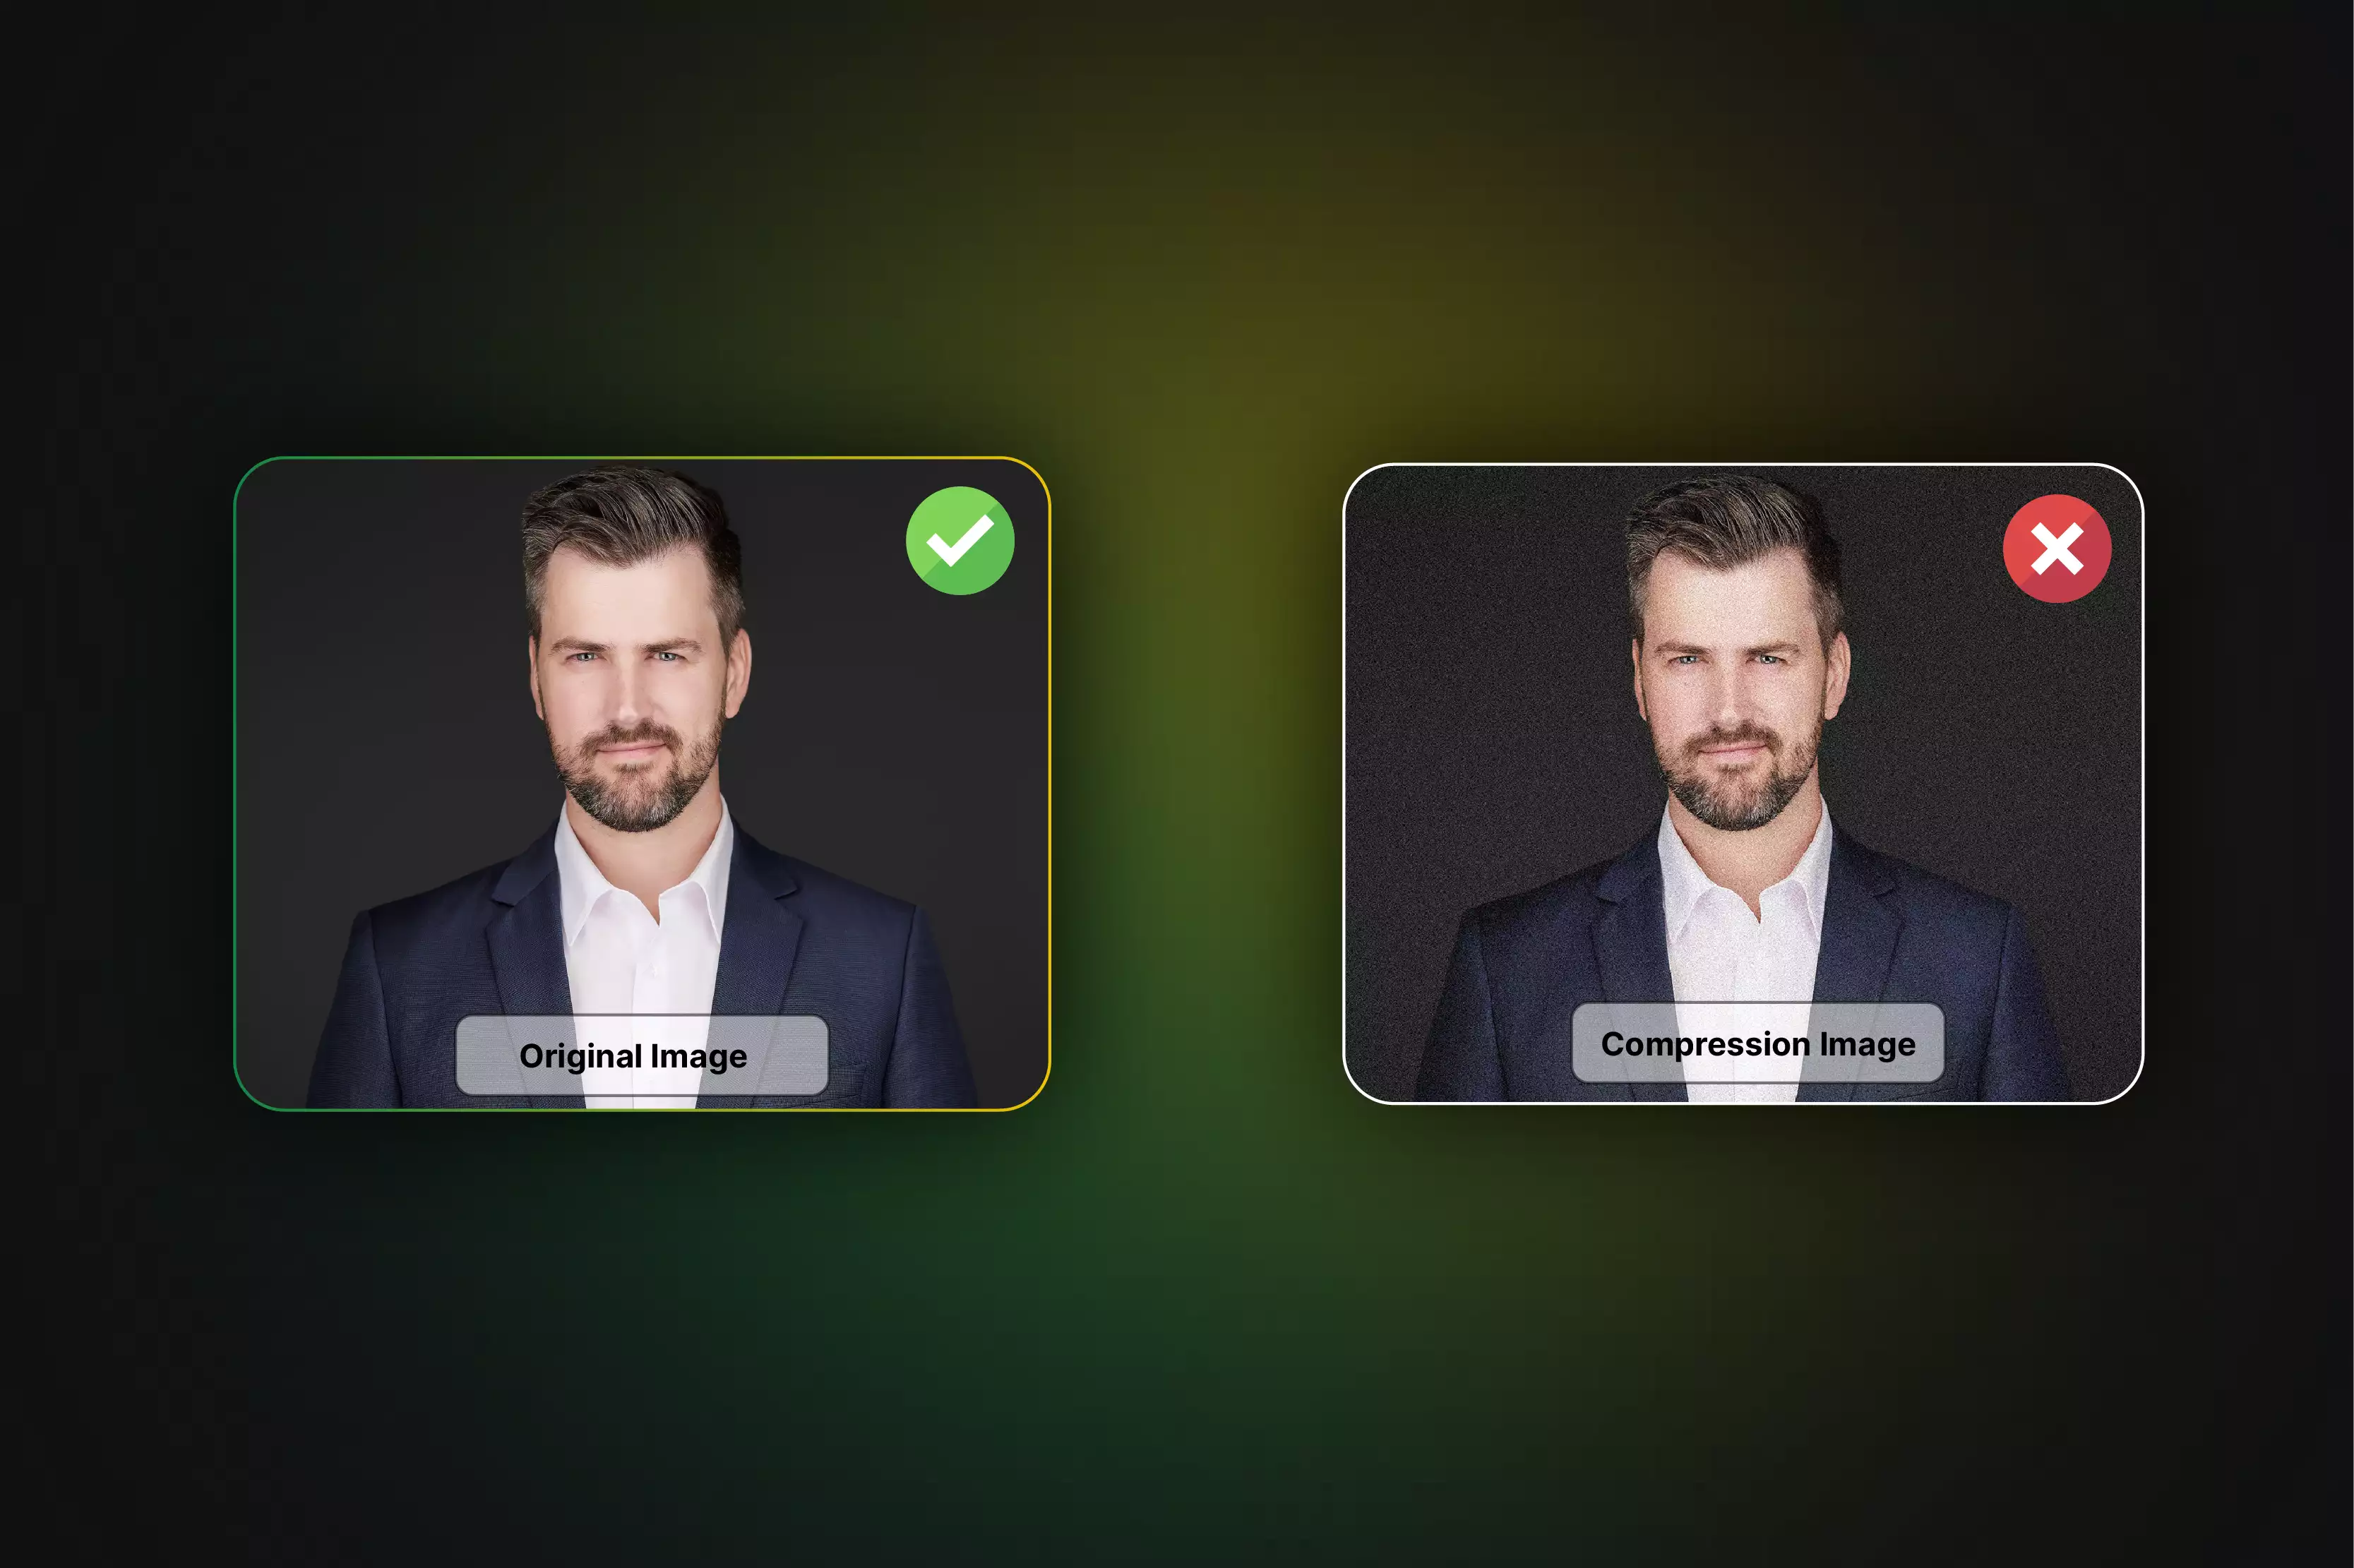
Avoiding compression in your LinkedIn profile photo is essential for maintaining image clarity. Compression can degrade image quality by reducing sharpness and introducing artifacts. To prevent this, use a high-resolution photo with a file size up to 8MB. Choose formats like JPG or PNG that support better quality retention. Before uploading, ensure your image is well-sized and clear to avoid automatic compression by LinkedIn.
If your photo appears blurry after upload, it may be due to excessive compression; consider using tools like Trimage or ImageOptim to optimize your photo’s quality without reducing resolution. Maintaining a high-quality, uncompressed image ensures a professional and polished appearance on your LinkedIn profile.
4. Edit Quality
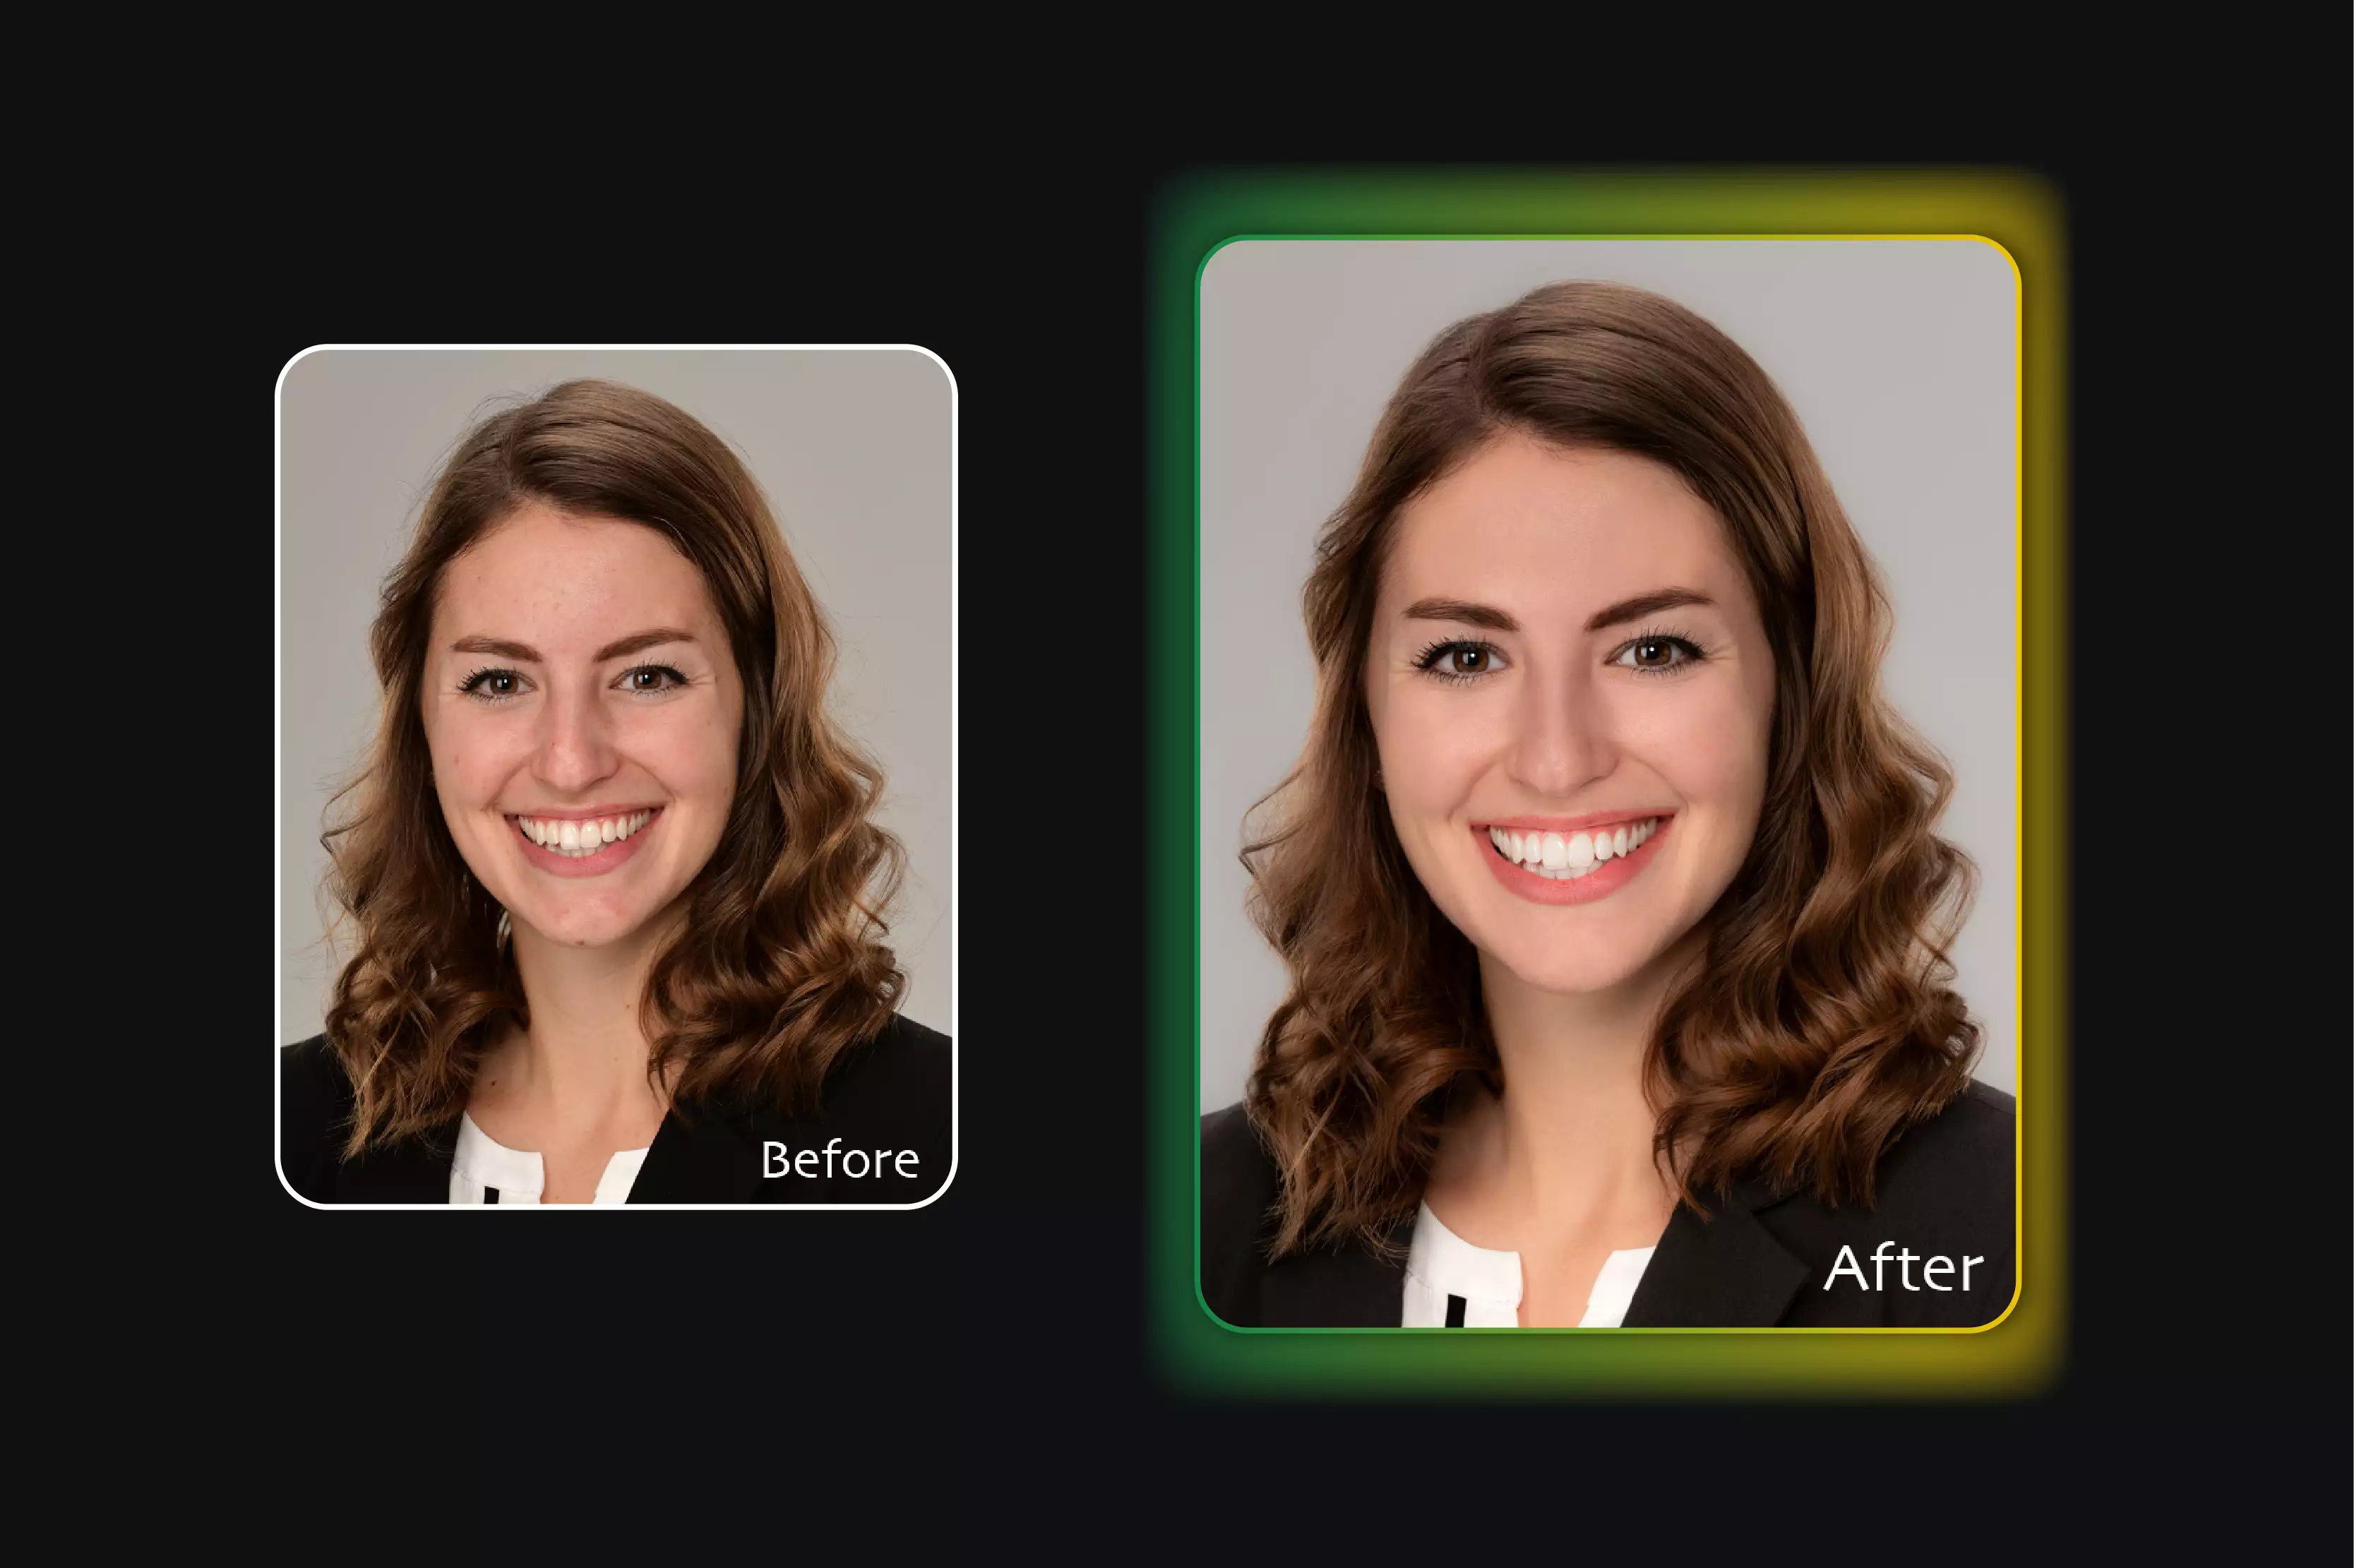
Editing the quality of your LinkedIn profile photo involves enhancing clarity and ensuring it meets the platform's specifications. Use image editing software to adjust brightness, contrast, and sharpness for a more polished look. Avoid drastic changes that can introduce distortions. Crop the image to fit LinkedIn’s recommended dimensions of 400 x 400 pixels, focusing on your face, taking up at least 60% of the frame.
Adjust the file size and resolution to align with LinkedIn’s upload limits, aiming for a clear, high-resolution image. Applying these edits thoughtfully helps prevent blurriness and maintains a professional appearance, making your profile more appealing and effective in creating a positive first impression.
5. Proper Lighting
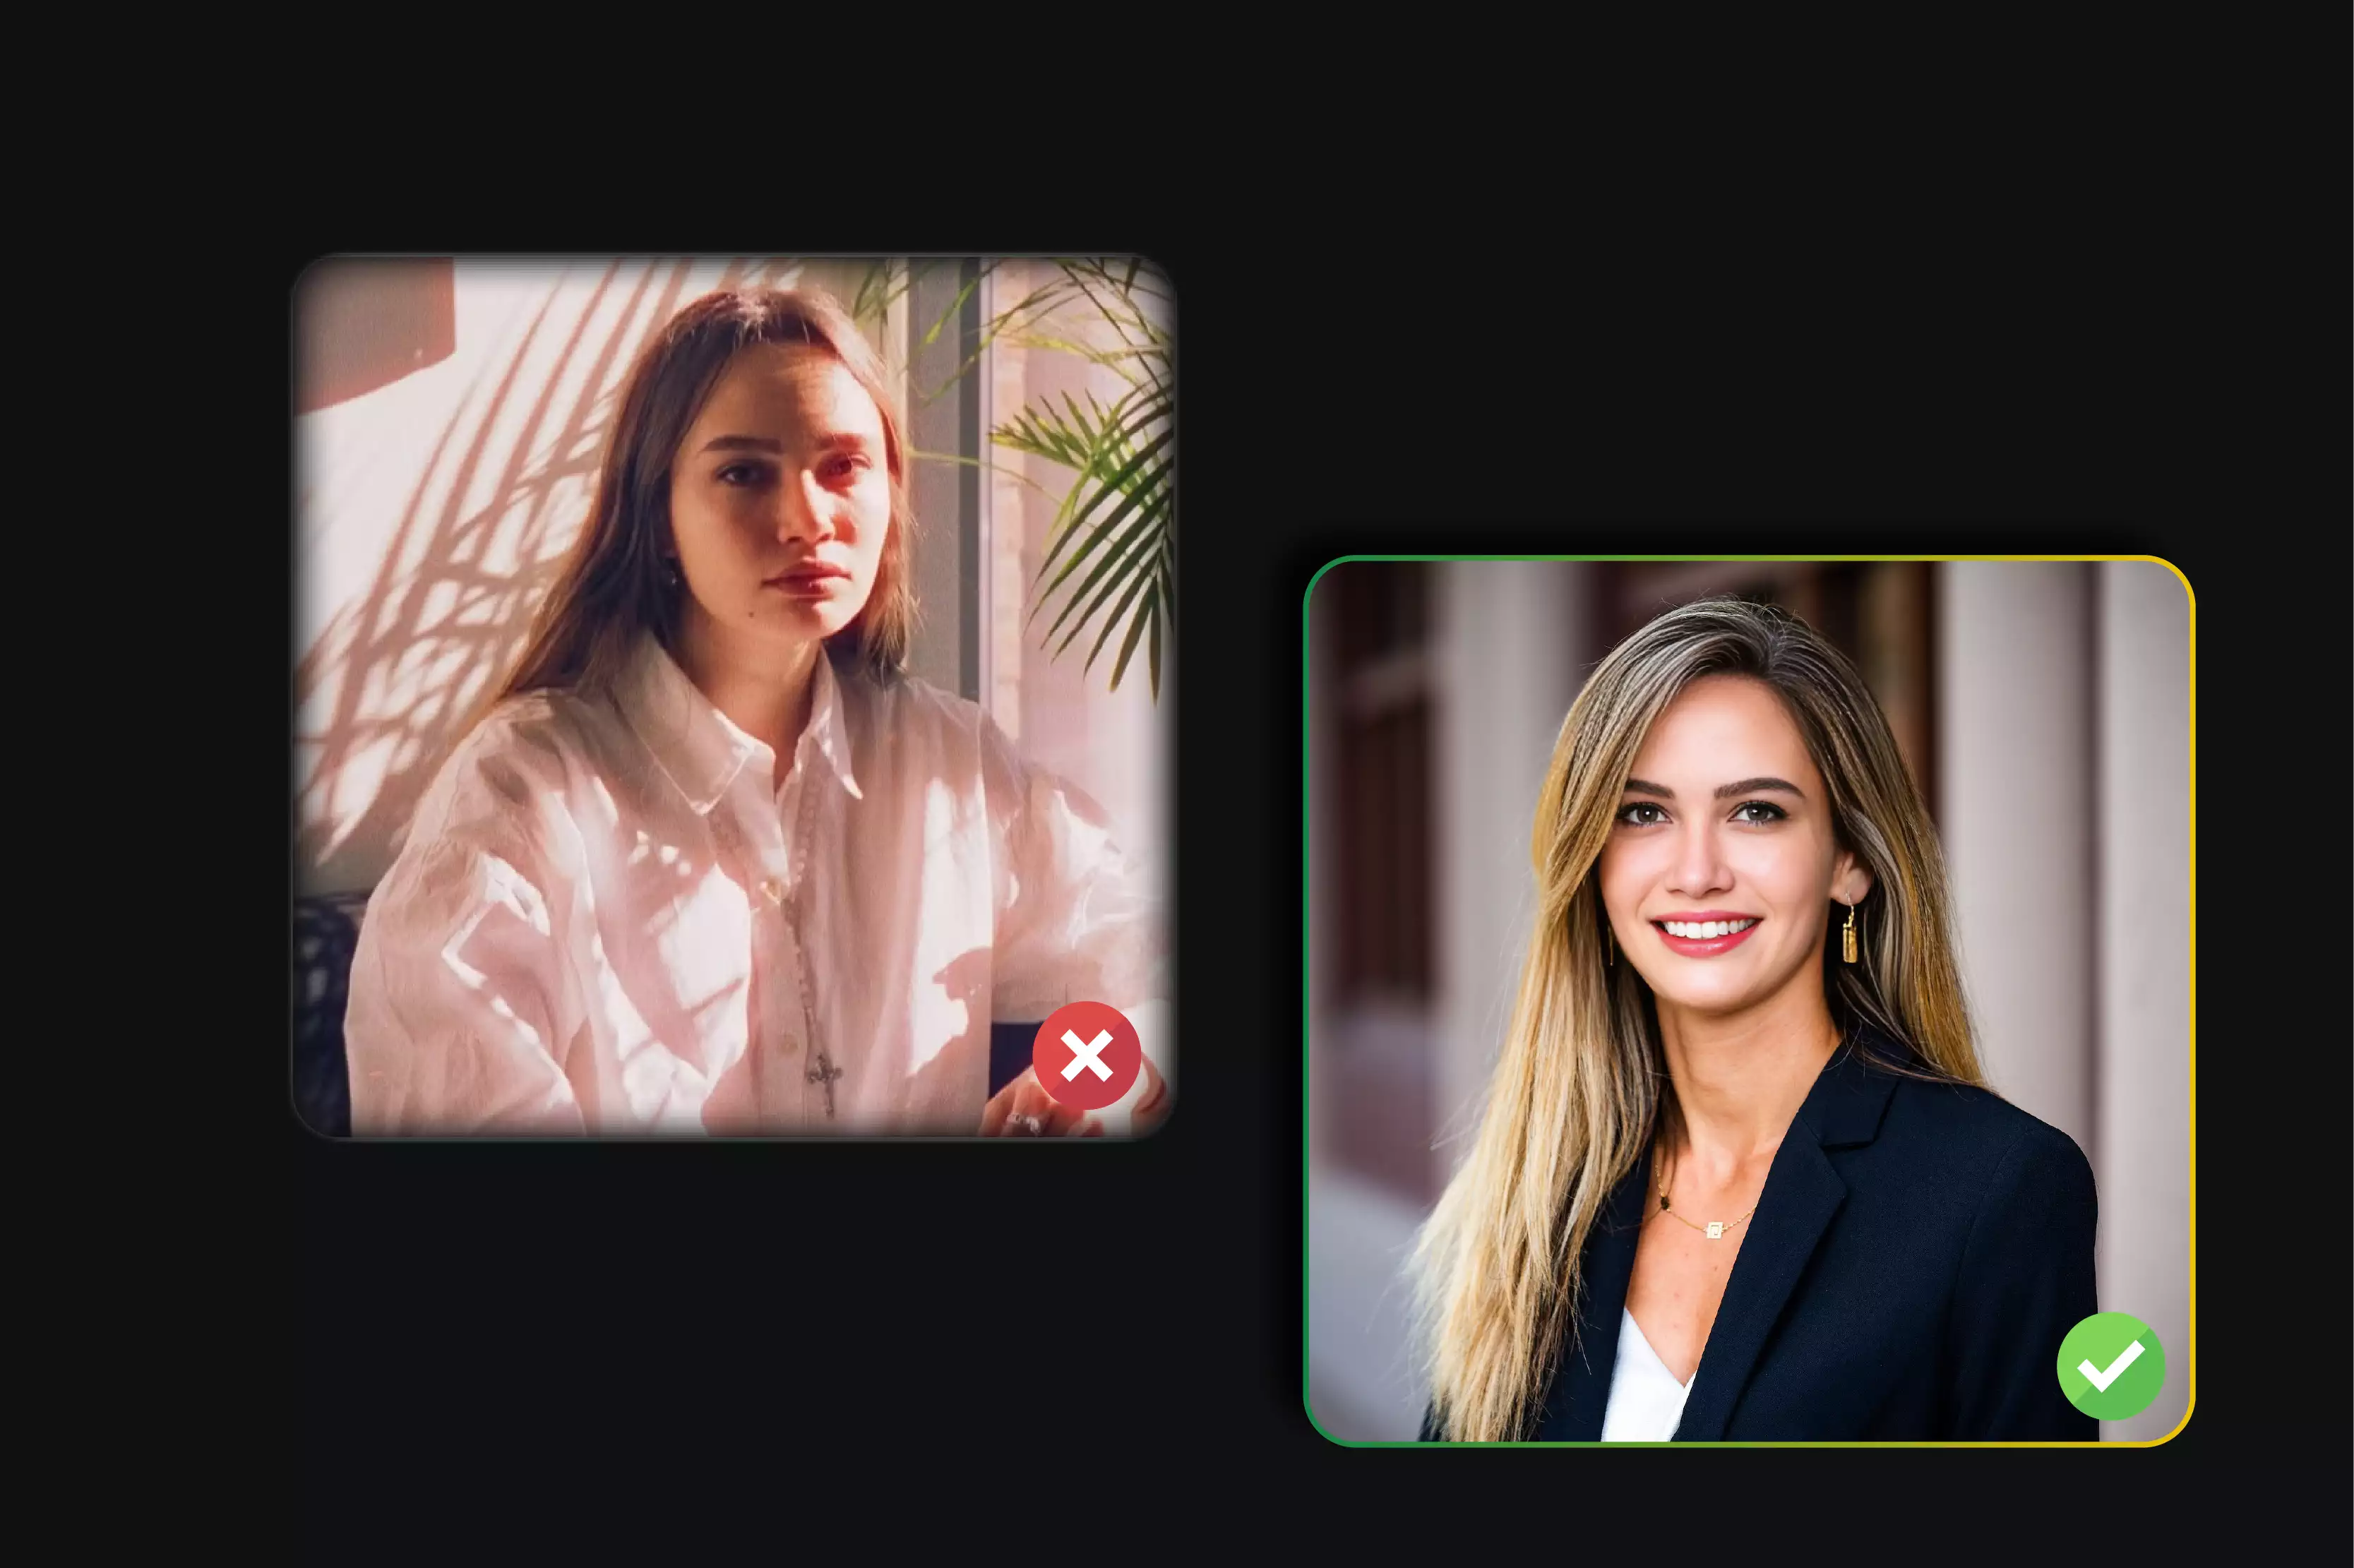
Proper lighting is crucial for a clear LinkedIn profile photo. Utilize soft, natural light to enhance your image without creating harsh shadows or highlights. Ideal lighting comes from diffused sunlight or a well-lit room, avoiding direct sunlight or artificial flash, which can cause glare and distortions. Position yourself facing a window or a light source to achieve even illumination.
For indoor settings, consider using a ring light or other diffused lighting equipment to maintain a consistent glow. Proper lighting ensures that your facial features are well-defined and the overall image quality remains sharp, contributing to a professional appearance and a more engaging profile.
6. Crop for Focus
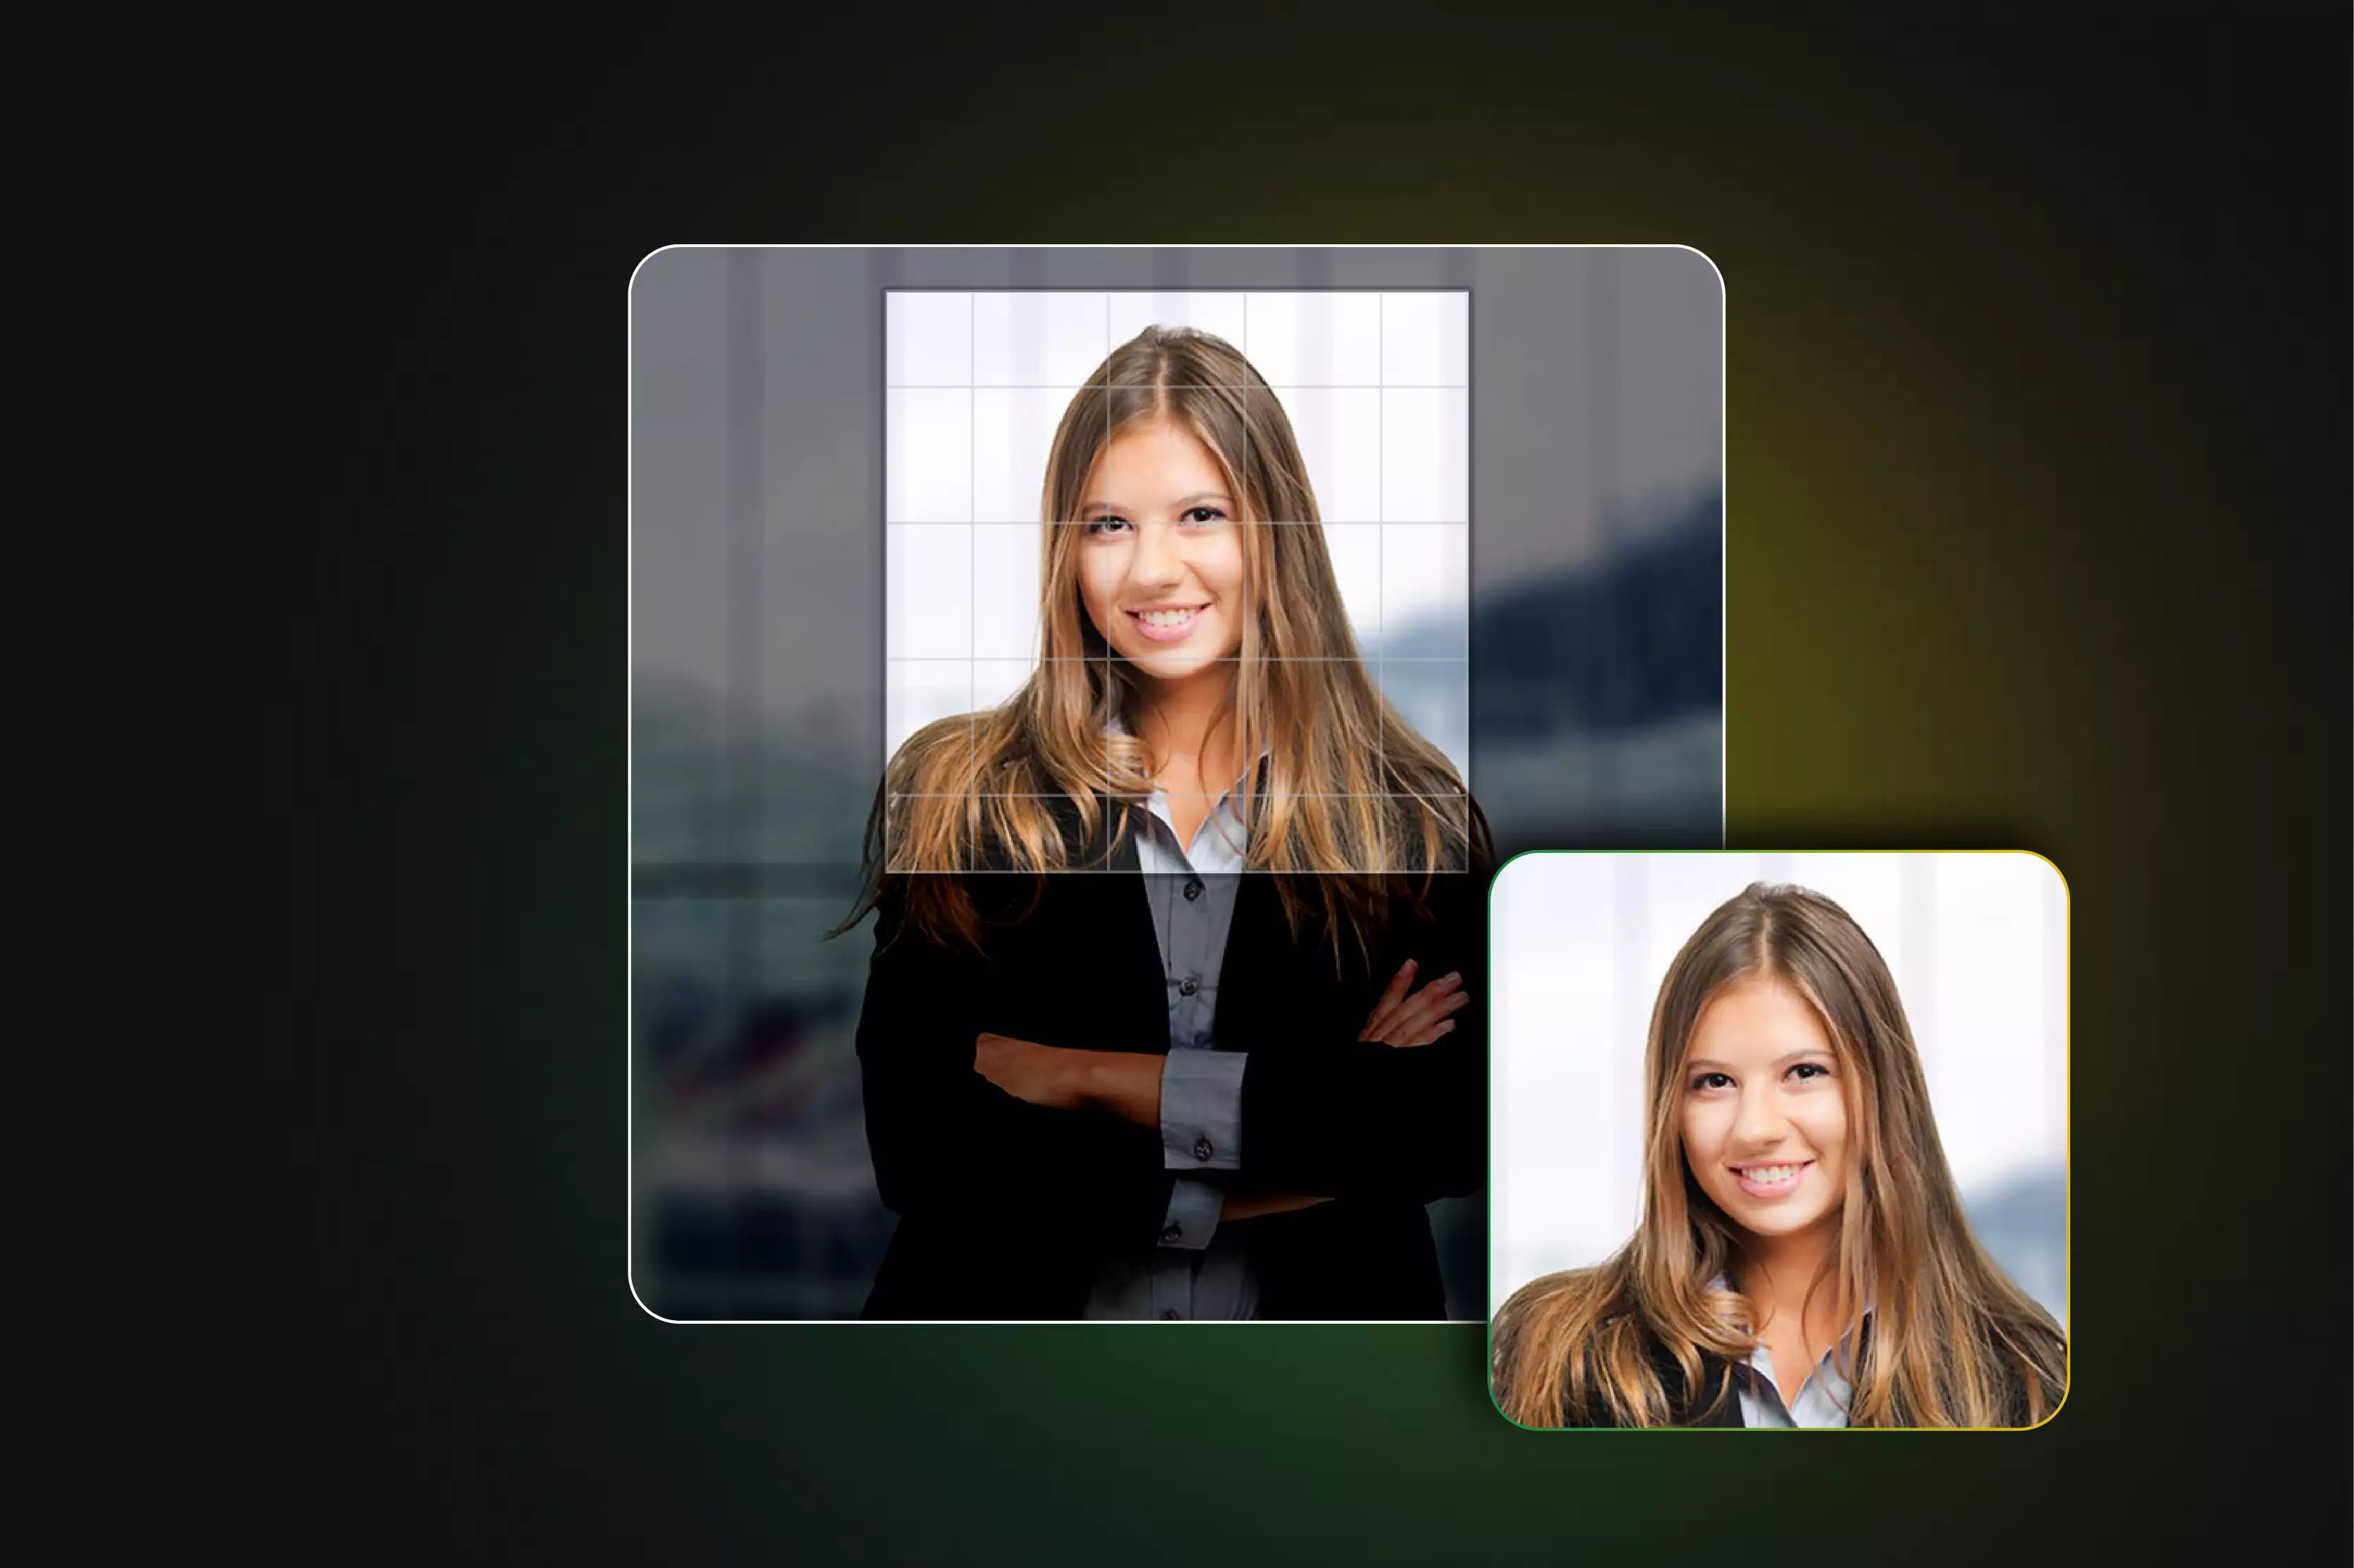
Cropping for focus ensures that your LinkedIn profile photo highlights your face effectively. Aim to crop the image so that your face occupies at least 60% of the frame, from the top of your shoulders to just above your head. Avoid wide-angle shots or full-body photos, which can distract from your face.
Proper cropping helps maintain a professional look by centering your facial features and eliminating unnecessary background elements. Ensure the crop is symmetrical and the face is clearly visible, which enhances the overall impact of the photo. This focused approach makes it easier for viewers to recognize you and makes your profile appear more polished and approachable.
7. Simple Background

A simple background for your LinkedIn profile photo enhances the focus on your face and maintains a professional appearance. Choose a background that is neutral or lightly textured, avoiding busy patterns or distracting elements. This approach keeps attention on you rather than the surroundings.
A plain color or soft gradient works well, but you can also use natural settings or professional office environments if they are subtly styled. Ensure that the background contrasts enough with your attire and face to make you stand out. A simple background contributes to a clean, polished look and avoids clutter, making your profile photo appear more focused and professional, thus improving your overall LinkedIn presence.
8. Regular Updates

Regular updates to your LinkedIn profile photo ensure that it reflects your current appearance, maintaining a genuine and professional image. An outdated photo can lead to confusion and diminish your credibility, as it may not accurately represent how you look today. Updating your photo periodically.
Ideally, every couple of years or after significant changes in your appearance keeps your profile fresh and trustworthy. This practice helps candidates, clients, and colleagues recognize you easily, fostering a sense of reliability and authenticity. An up-to-date photo also signals that you are actively managing your LinkedIn presence, which can positively influence your professional image and networking opportunities. Regular updates are crucial for maintaining an effective LinkedIn headshots.
9. JPG or PNG Format
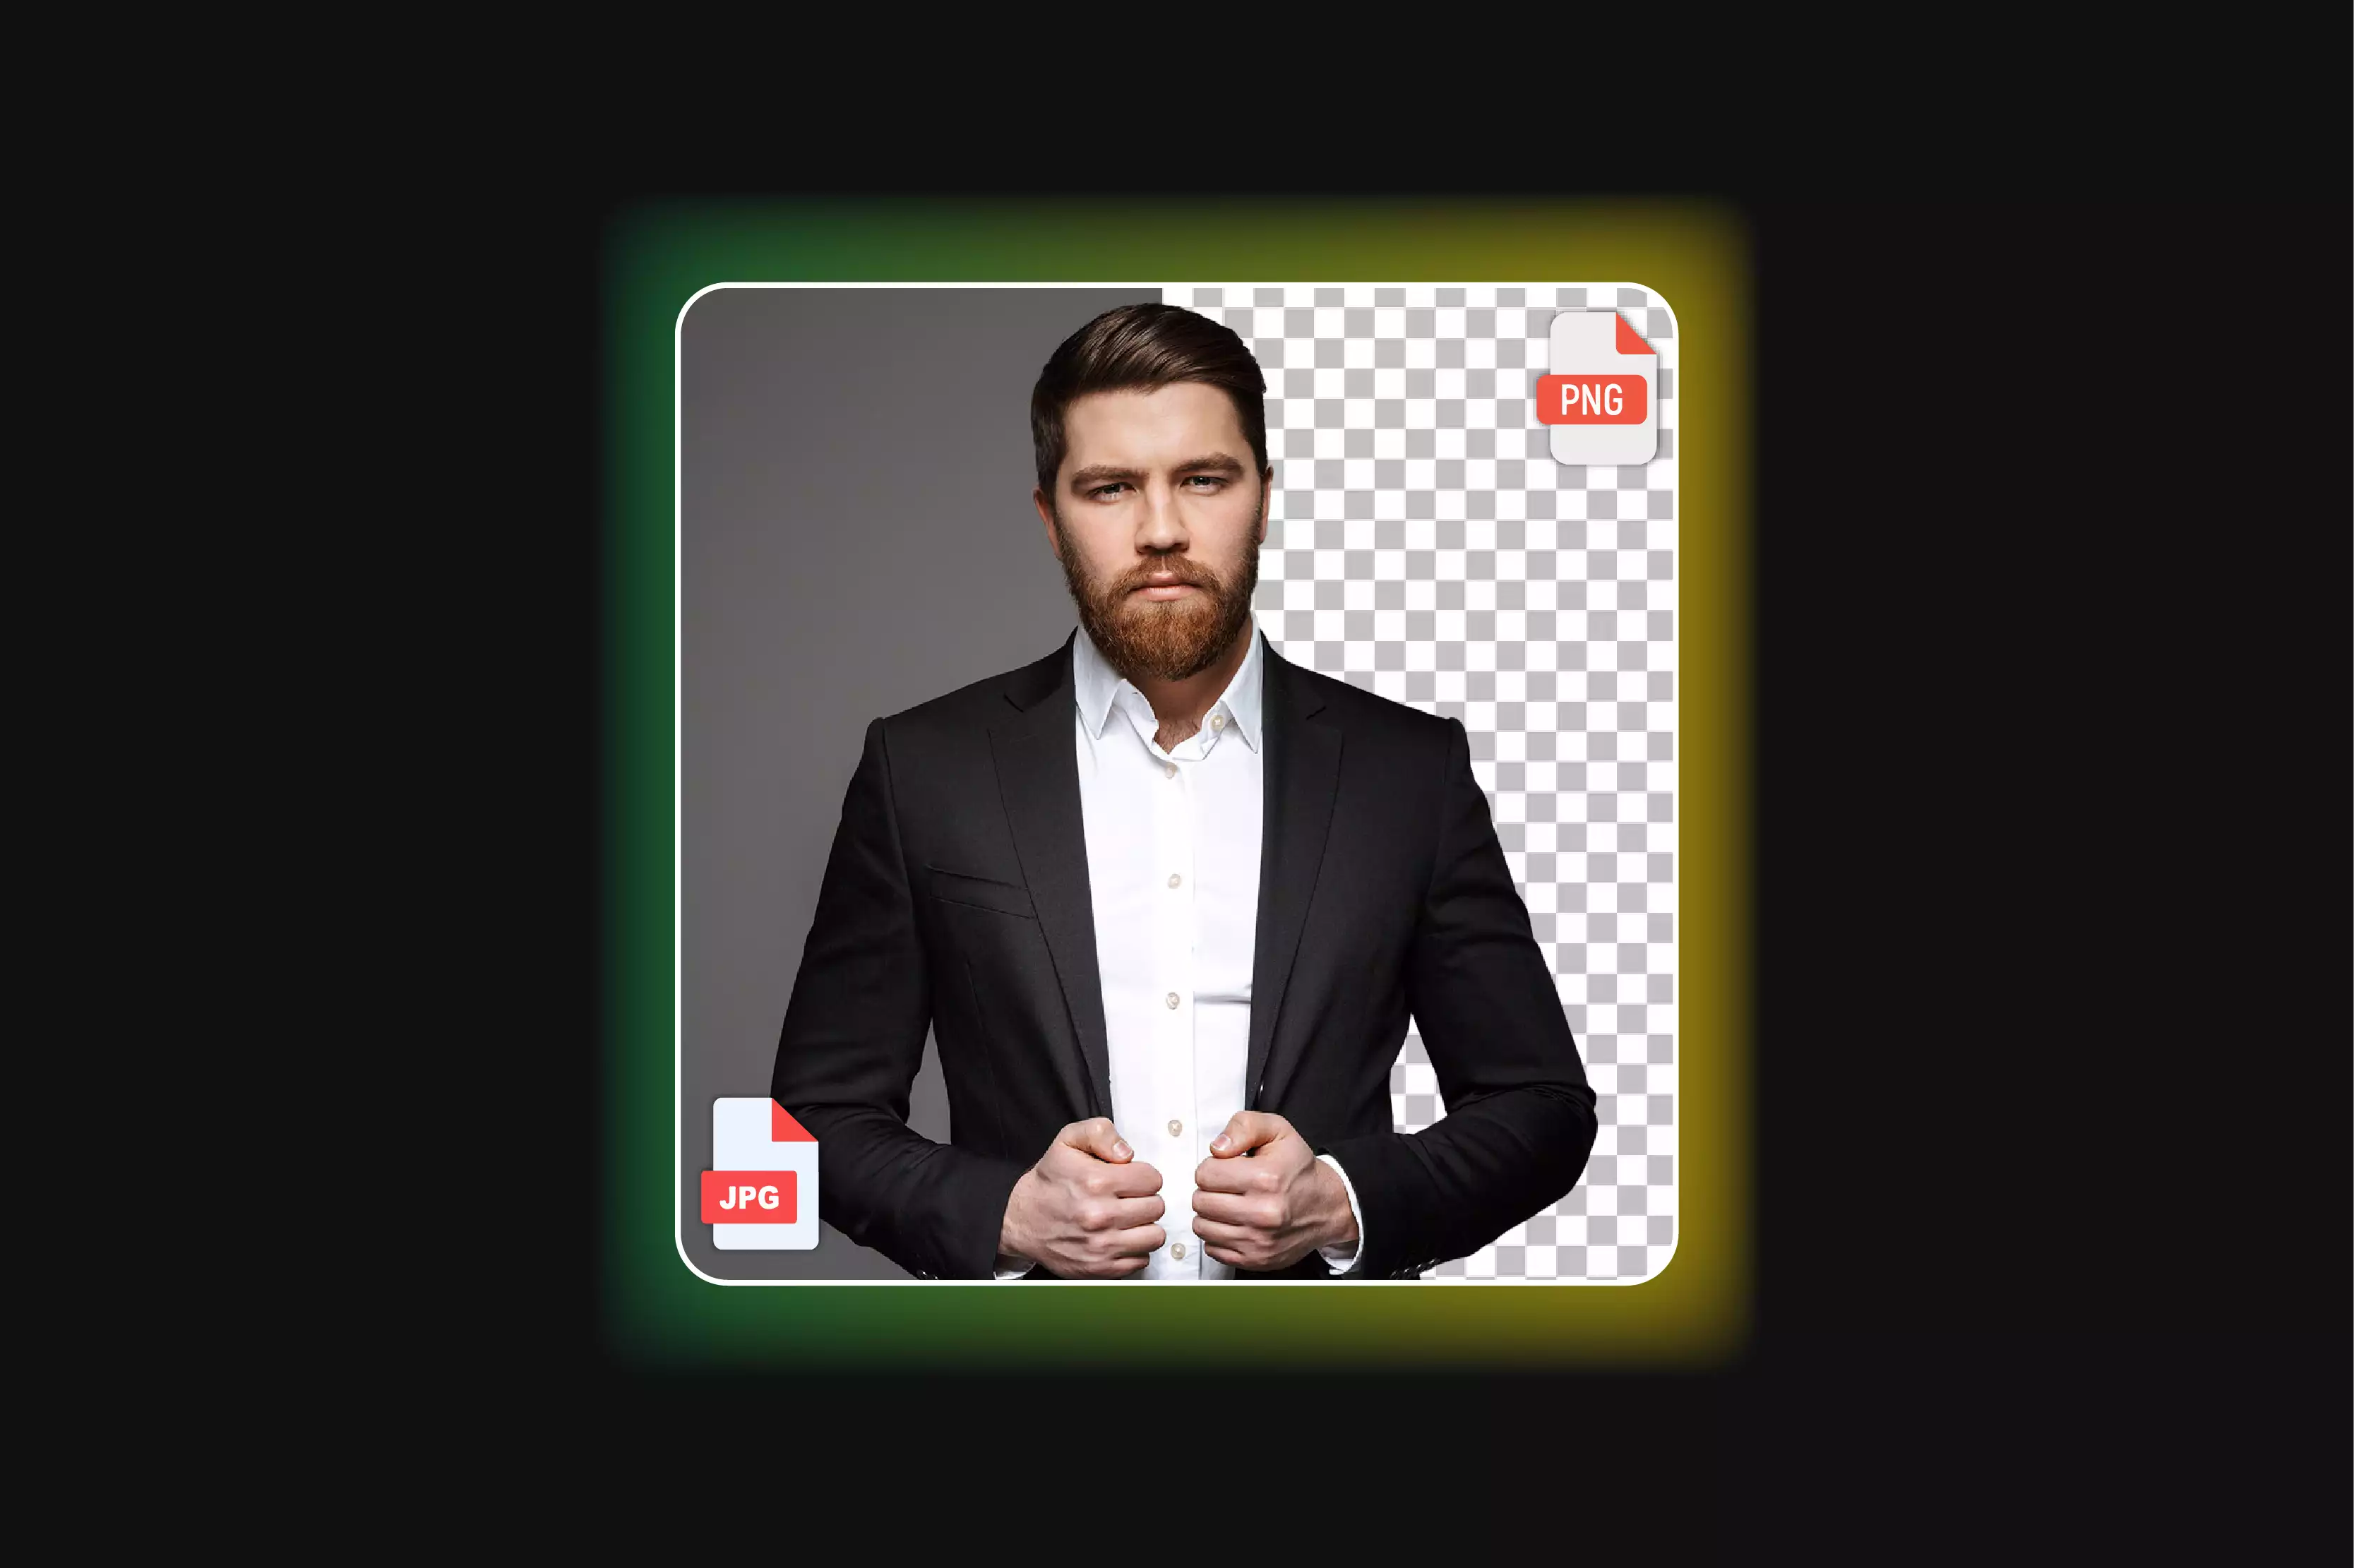
Using the JPG or PNG format for your LinkedIn profile photo is essential for maintaining clarity and quality. JPG files are ideal for photos with rich colors and gradients, offering good compression while preserving detail. PNG files are perfect for images that require transparency or sharp details, as they support higher resolution and maintain clarity without compression artifacts.
Both formats are compatible with LinkedIn’s upload system, but ensure your image meets the platform's specifications to avoid blurriness or pixelation. By choosing the appropriate format, you can ensure your profile photo appears professional and crisp, enhancing your overall LinkedIn presence and making a strong impression on viewers.
10. Verify Clarity

Verifying the clarity of your LinkedIn profile photo is crucial for a professional appearance. Before uploading, check the image at full size to ensure it’s sharp and detailed, without any blurriness or pixelation. Zoom in to assess whether the details, such as your facial features and attire, are crisp and clear.
If the image appears blurry or distorted, consider using editing software to enhance sharpness or selecting a higher-resolution photo. Additionally, preview the photo on different devices to confirm it looks clear across various screen sizes. A clear, high-quality profile picture can significantly impact your LinkedIn profile’s effectiveness, making you appear more professional and approachable.
How to Clear out Blurry Images?
To clear out blurry images, use Upscale.media advanced AI technology for a quick and effective solution. Begin by uploading your image to the platform, where the AI will enhance the resolution and clarity. The tool allows for precise upscaling, improving the image quality and eliminating blurriness. You can choose between 2X and 4X upscaling options based on your needs.
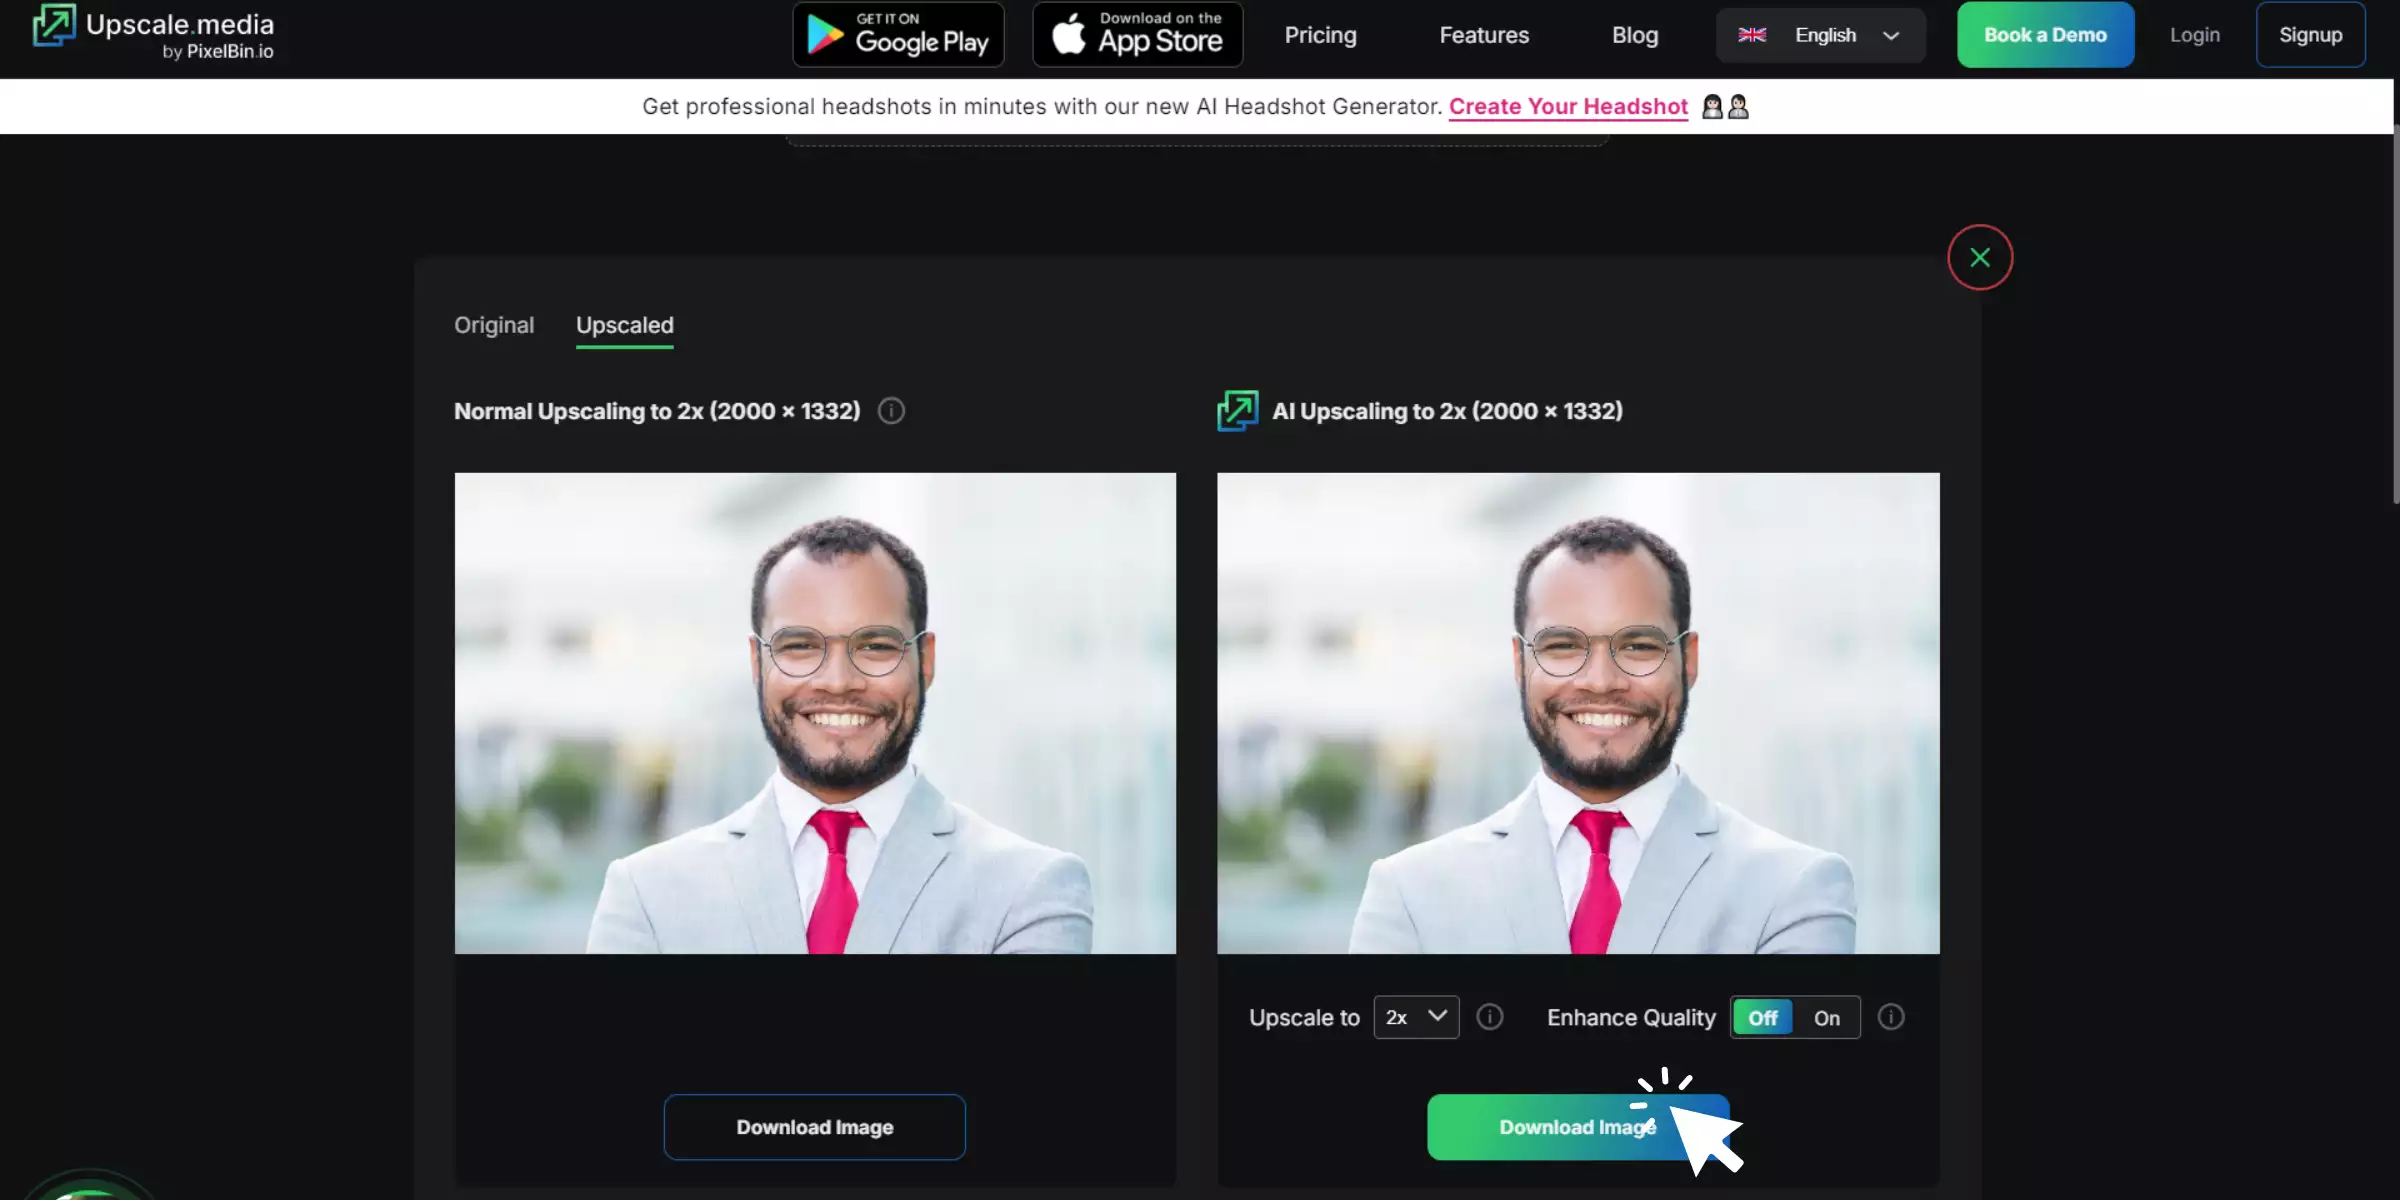
The enhanced image can then be downloaded in high resolution, ensuring a clear and professional appearance. By leveraging this technology, you can significantly improve the quality of your photos with ease.
Steps to Use Upscale.media to Clear Out Blurry Images
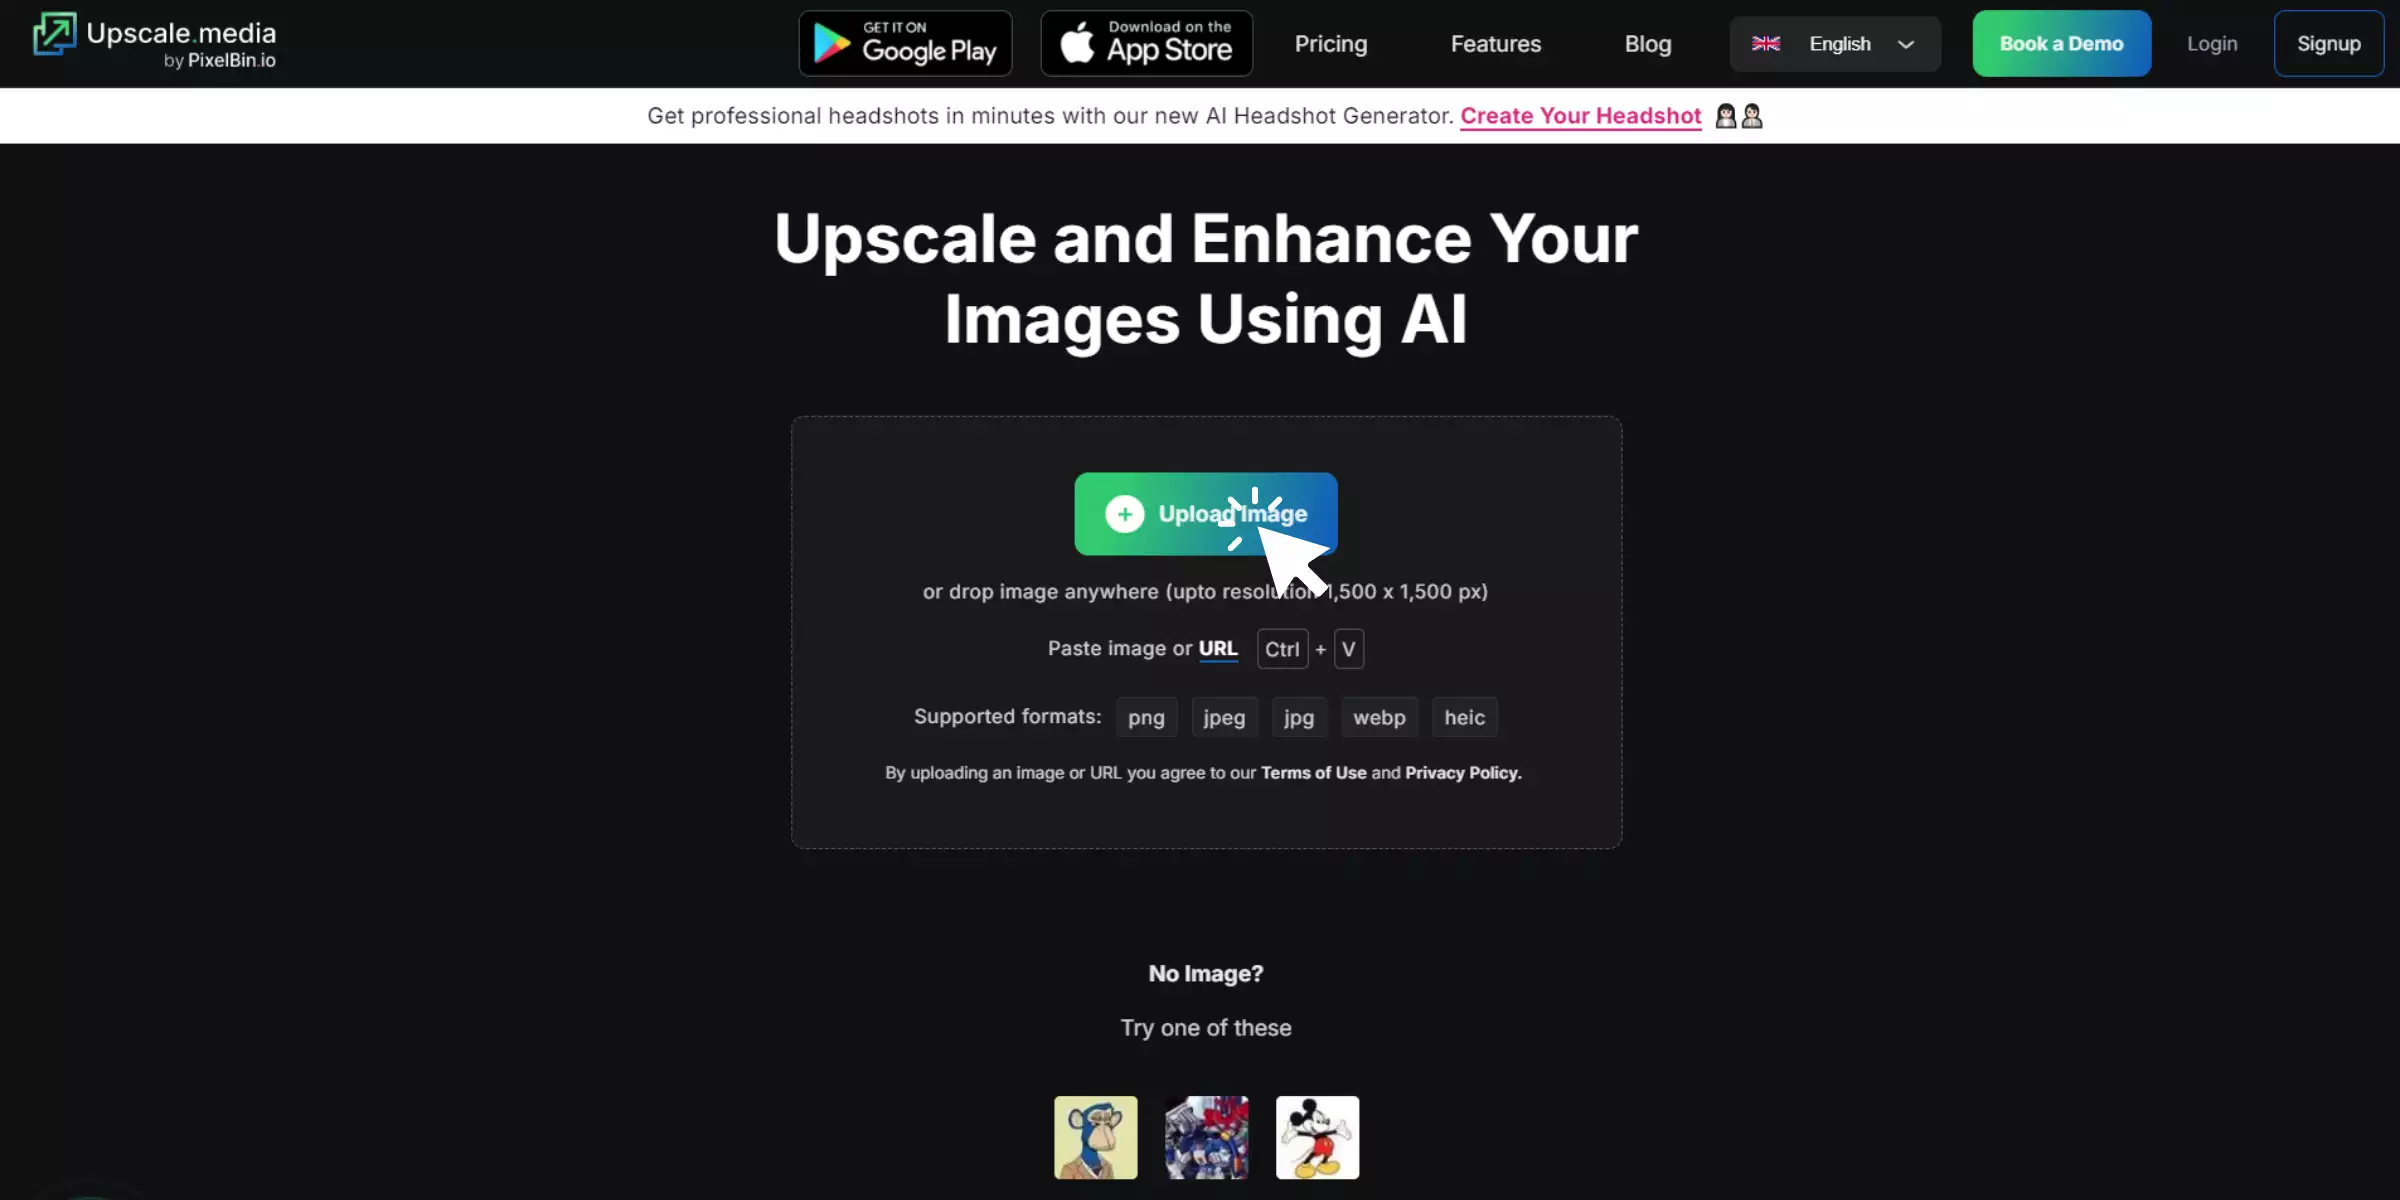
1. Visit Upscale.media – Go to the website or download the app on your device.
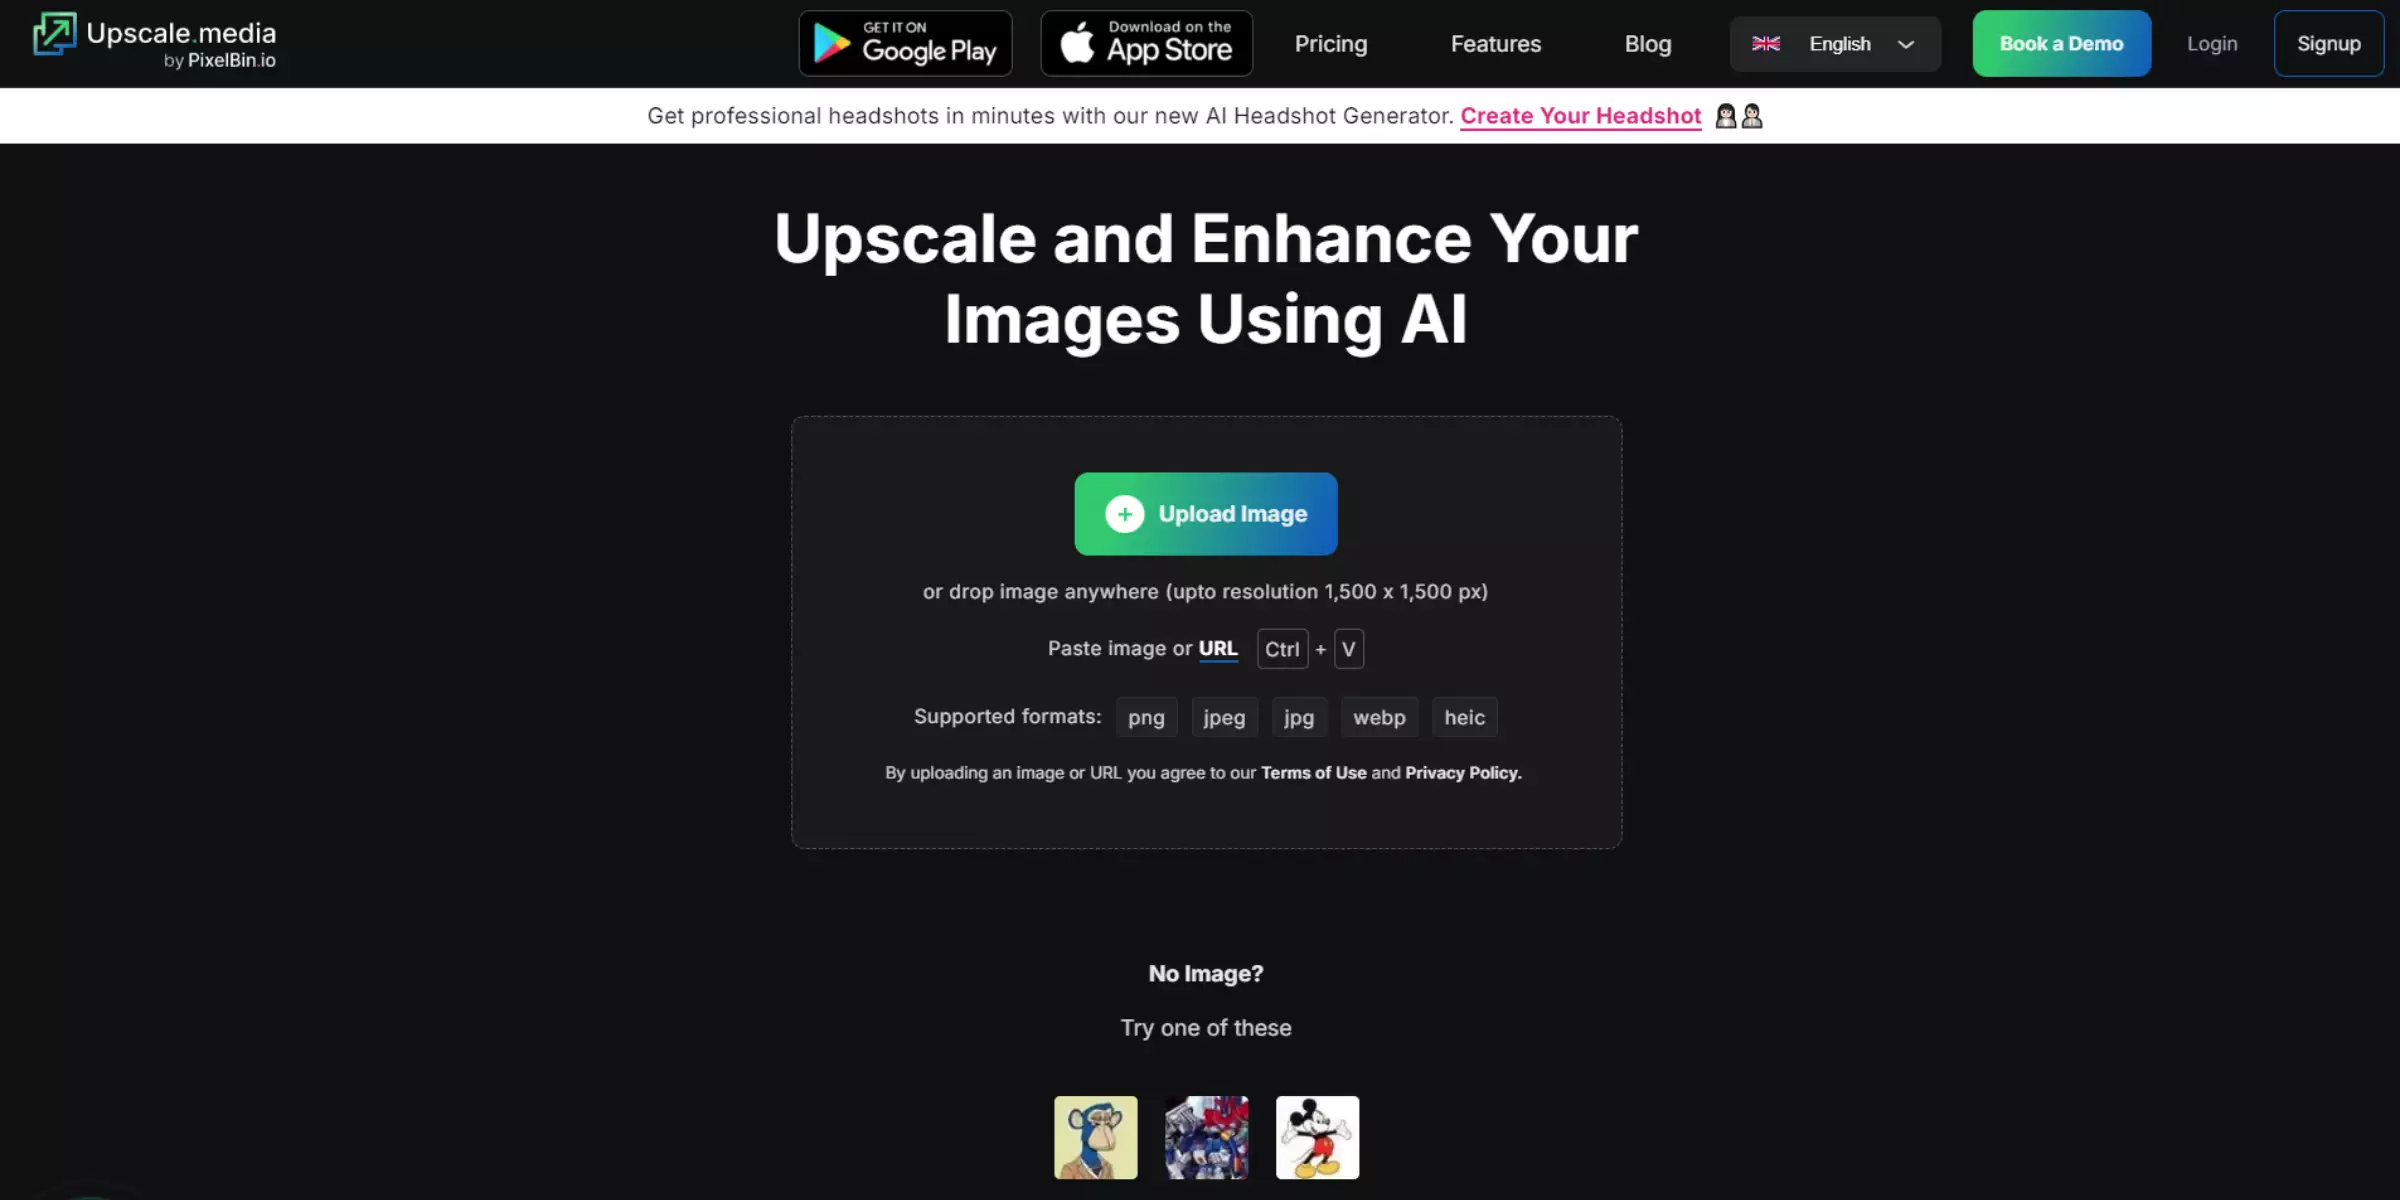
2. Upload Your Image – Click "Upload Image" or use the drag-and-drop feature to select your blurry photo.
3. Choose Upscaling Option – Select between 2X or 4X upscaling for optimal results.
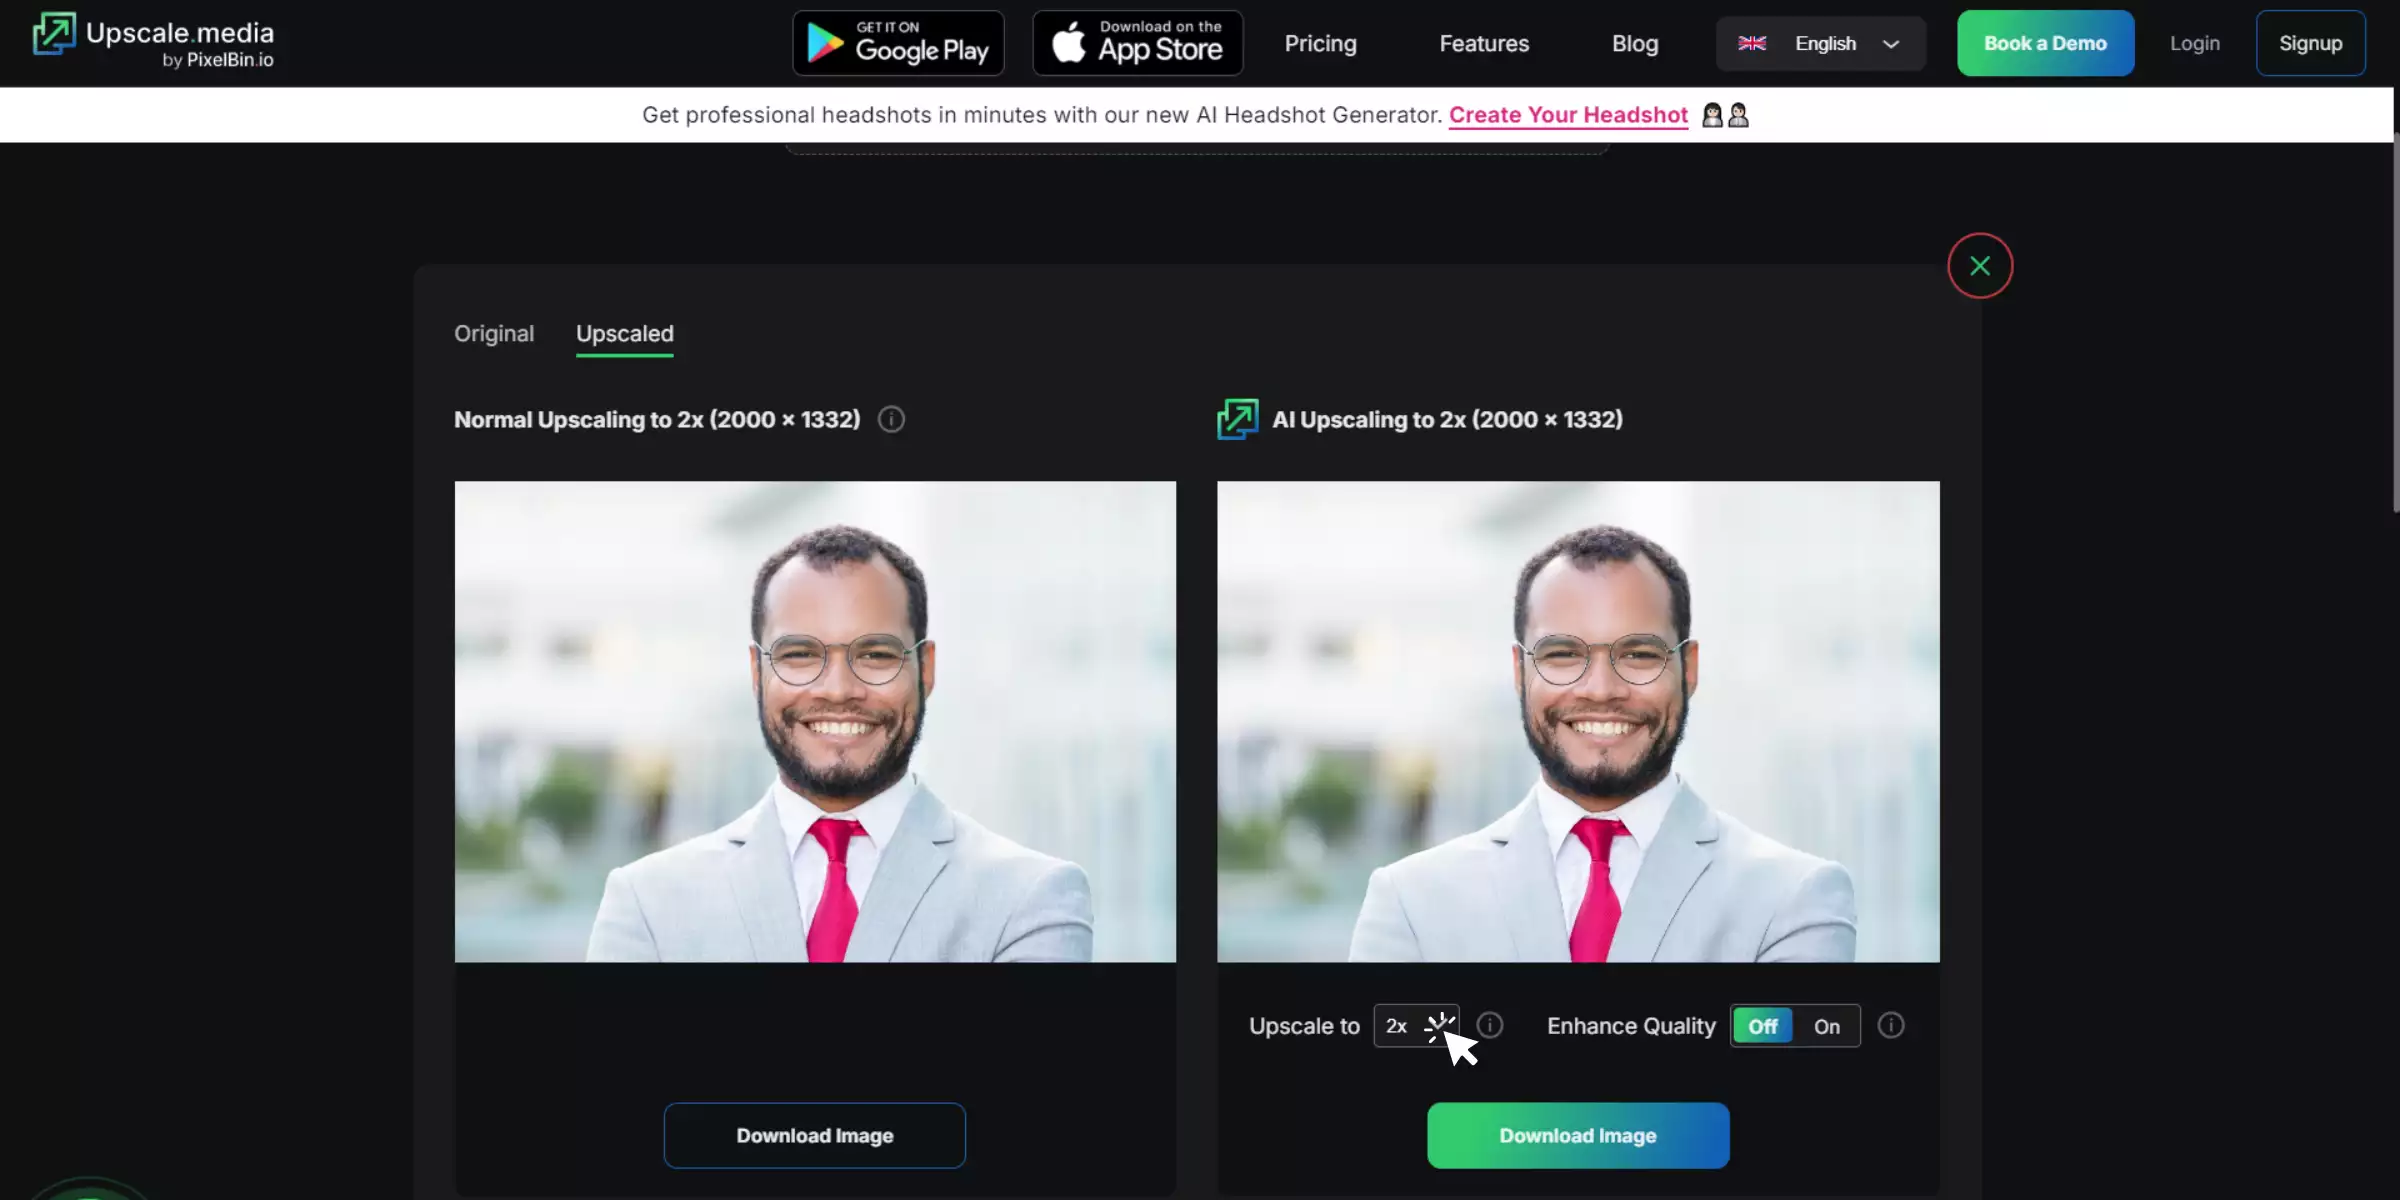
4. Wait for Processing – The AI will process the image, enhancing its clarity within seconds.

5. Download the Enhanced Image – Save the improved photo by clicking "Download Image."
Conclusion
A blurry LinkedIn profile photo can undermine your professional presence, making it crucial to have a clear and high-quality image. To resolve this issue, consider using Upscale.media to enhance your photo effortlessly. Their advanced AI tools can refine and sharpen your blurry images, ensuring a crisp, professional look. With just a few simple steps, Upscale.media helps you transform your LinkedIn profile photo into a high-resolution image that effectively represents your professional image.
FAQ's
A LinkedIn photo may appear blurry due to low resolution, incorrect dimensions, excessive compression, or poor lighting. High resolution, proper dimensions, and minimal compression help maintain clarity.
To upload a high-quality profile picture, use an image with high resolution and correct dimensions. Avoid compressing the image excessively, and ensure it meets LinkedIn's photo specifications before uploading.
Optimize your LinkedIn profile picture by using high-resolution images, cropping for focus, maintaining proper lighting, and ensuring the image dimensions meet LinkedIn's requirements. Regular updates also help maintain a professional appearance.
The ideal resolution for a LinkedIn profile picture is 400 x 400 pixels. This resolution ensures your photo is clear and meets LinkedIn's image quality standards.
To download a high-quality LinkedIn profile picture, right-click on the photo and select the option to save or download. Ensure the original image was uploaded in high resolution to maintain quality.


